If you’re buying your first laser machine, one of the most important safety questions is:
Does a laser engraver need ventilation?
The short answer is yes — proper ventilation is essential for safety, air quality, and machine performance.
Table of Contents
In this complete guide, we’ll explain why ventilation matters, what type you need, and how to set up a safe laser engraving workspace.
Why Ventilation Is Important for Laser Engraving
When a laser engraves or cuts material, it burns, melts, or vaporizes the surface. This process produces:
- Smoke
- Fine particles
- Toxic fumes (depending on material)
- Strong odors
Without ventilation, these fumes can:
- Irritate your lungs and eyes
- Trigger headaches
- Damage electronics over time
- Leave residue on mirrors and lenses
Proper airflow protects you, your workspace, and your machine.
Do All Laser Engravers Need Ventilation?
Yes — but the type of ventilation depends on the laser type.
CO₂ Laser Cutters
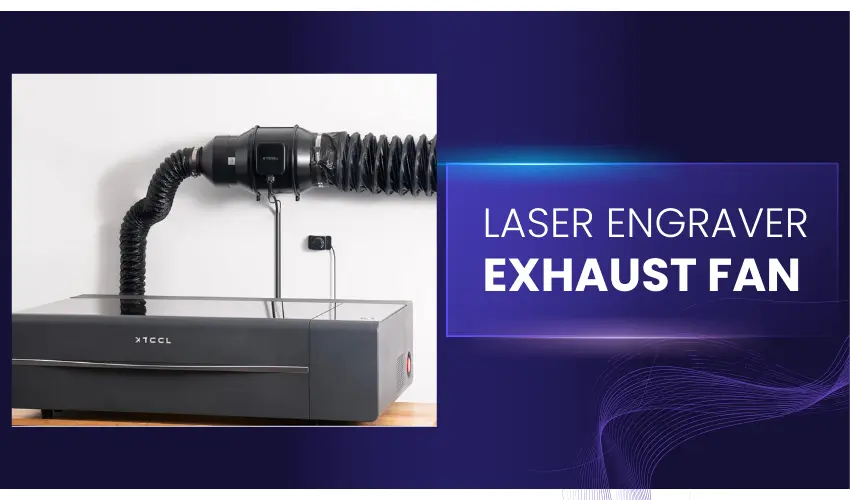
Machines like the xTool P2S produce significant smoke when cutting wood or acrylic and must be vented outdoors or connected to a fume extractor.
CO₂ lasers generate the most visible smoke and odor.
Diode Lasers
Open-frame diode engravers (such as entry-level desktop models) also produce fumes when engraving wood, leather, or coated materials.
While smoke output is lower than CO₂ lasers, ventilation is still required — especially indoors.
Fiber & Infrared Lasers
Fiber lasers used for metal engraving (like the xTool F1 Ultra) produce less smoke when engraving bare metal.
However, when marking painted metals or plastics, fumes are still created. Ventilation is recommended, especially in enclosed spaces.
What Happens If You Don’t Use Ventilation?
Operating a laser without proper ventilation can cause:
- Breathing in harmful particles
- Lingering burnt odors in your home
- Residue buildup on optics
- Increased fire risk
- Reduced engraving quality
Certain materials (like PVC) release highly toxic chlorine gas and should never be engraved — even with ventilation.
Types of Laser Ventilation Systems
Direct Outdoor Venting
- Connect the exhaust hose to the inline exhaust fan and run the hose through a window or wall vent
- Reduces smoke and fumes from indoor spaces
- Affordable but must be properly sealed to prevent backflow.
This is ideal for garages, workshops, or dedicated studios.
Fume Extractors / Smoke Filtration System
A filtration unit uses:
- Pre-filter
- HEPA filter
- Activated carbon filter
This setup allows indoor use when outdoor venting isn’t possible.
Does an Enclosed Laser Still Need Ventilation?
Yes.
Even enclosed Class 1 laser machines still produce fumes internally. They typically include:
- Built-in exhaust fans
- Air assist systems
- Exhaust ports
But you still need to vent the exhaust outside or through a filtration system.
How Much Ventilation Do You Need?
It depends on:
- Material type
- Frequency of use
- Room size
- Laser power
High-power CO₂ lasers cutting thick wood require stronger airflow than a fiber laser engraving stainless steel.
Ventilation & Material Safety
Always check material safety before engraving.
Safe Materials (with ventilation):
- Wood
- Acrylic (non-PVC)
- Leather
- Paper
- Stainless steel
NEVER Engrave:
- PVC
- Vinyl
- Unknown plastics
- Materials containing chlorine
Even strong ventilation cannot fully eliminate toxic gases from unsafe materials.
Additional Safety Tips
- Always use air assist when cutting
- Keep your workspace clean
- Install a smoke detector
- Have a fire extinguisher nearby
- Never leave your laser unattended
Ventilation is just one part of laser safety.
Step-by-Step Guide: How to Set Up a Home Laser Ventilation System
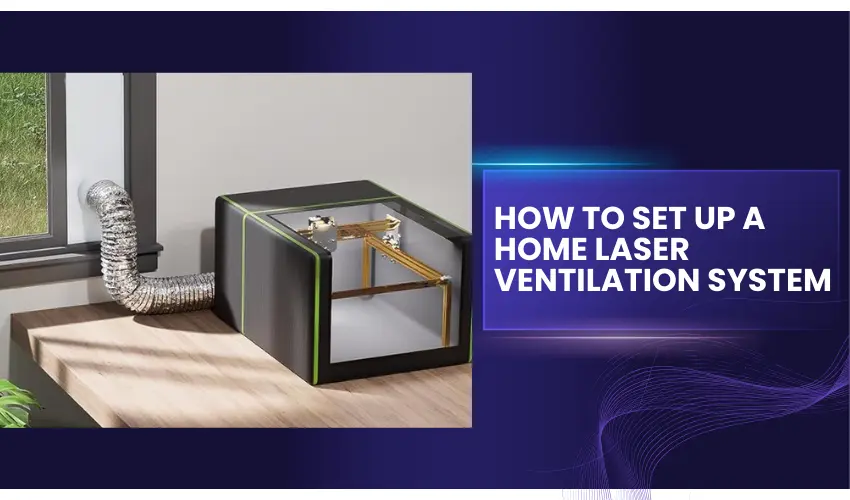
Proper ventilation is essential for safe and efficient laser engraving. Whether you’re using a CO₂, diode, or fiber laser, this guide will walk you through setting up a safe home ventilation system.
Step 1: Choose Your Ventilation Method
You have two main options:
Option A: Direct Outdoor Venting
This method reduces smoke and fumes from your indoor space.
Ideal for:
- Garages
- Workshops
- Basement studios
- Rooms with windows
Option B: Fume Extractor / Smoke Purifier
If you cannot vent outdoors, use a multi-stage filtration system with:
- Pre-filter
- HEPA filter
- Activated carbon filter
This setup captures particles and neutralizes odors but requires regular filter replacement.
Step 2: Gather Required Equipment
For direct outdoor venting, you’ll need:
- Enclosure for Open-frame diode lasers (The Skouphy Enclosure includes an exhaust hose and a ventilation fan)
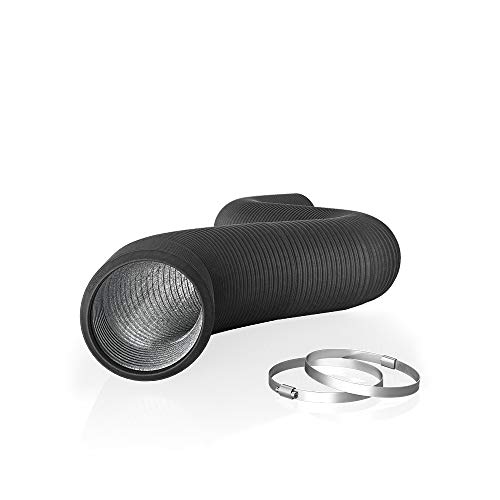
- Flexible exhaust duct (usually 4–6 inches)
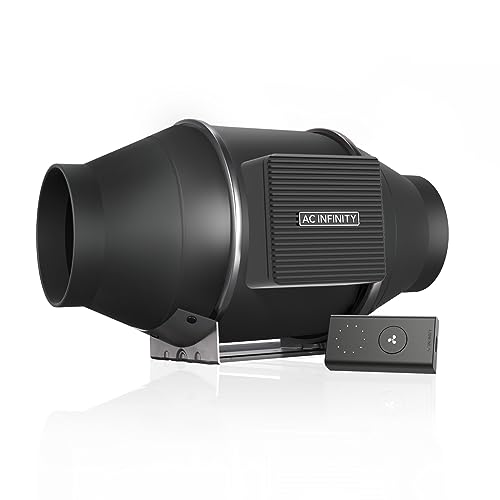
- Inline exhaust fan (if your laser fan is weak)
- Window vent adapter or wall vent
- Hose clamps
- Aluminum foil tape (for sealing joints)
Check pricing on Amazon below for all our recommended parts


For filtration systems:
- Laser-compatible fume extractor
- Replacement filters
- Proper airflow rating (CFM matched to your laser)
Step 3: Add Enclosure For Open-Frame Diode Lasers (If Needed)
If you’re using an open-frame diode laser (common with many entry-level machines), adding an enclosure is strongly recommended. (The Skouphy Enclosure includes an exhaust hose and a ventilation fan)
An enclosure:
- Contains smoke and fumes
- Improves ventilation efficiency
- Increases safety by blocking stray laser light
- Reduces odor spread
- Helps maintain consistent airflow
You can choose:
- A manufacturer-made enclosure
- A third-party fire-resistant enclosure
- A DIY enclosure using flame-retardant materials
Make sure the enclosure includes:
- An exhaust port
- Flame-resistant fabric or panels
- Proper airflow clearance
Without an enclosure, smoke disperses into the room before reaching the exhaust system, making ventilation far less effective.
Step 4: Position Your Laser Machine
Place your laser:
- Near a window or exterior wall
- On a stable, non-flammable surface
- With clear space behind for exhaust routing
Keep the duct run as short and straight as possible to maintain airflow efficiency.
Step 5: Install the Exhaust Duct
- Connect the duct securely to the laser’s exhaust port.
- Tighten using hose clamps.
- Run the duct to your window or wall outlet.
- Seal all joints with aluminum tape to prevent leaks.
Avoid sharp bends — they reduce airflow.
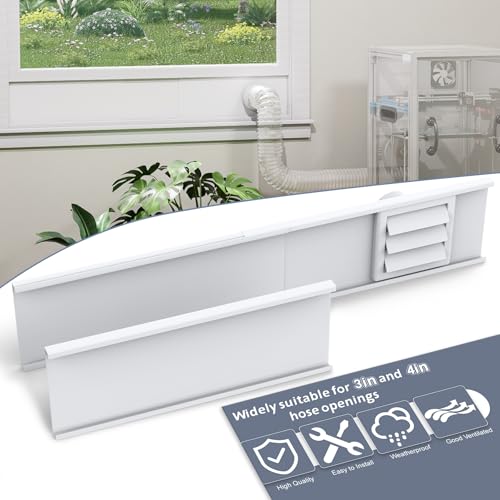
Step 6: Install a Window or Wall Vent Adapter
For window venting:
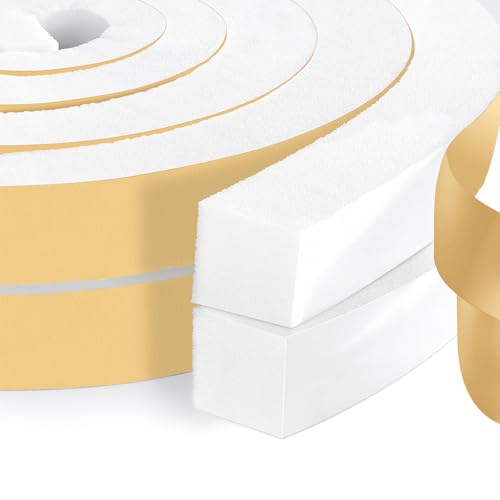
- Use an adjustable window panel kit
- Seal gaps with foam insulation
- Ensure the vent flap closes when not in use
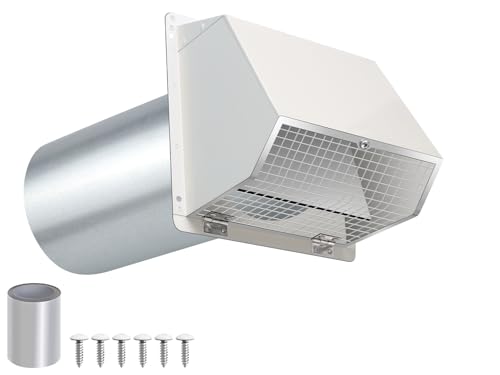
For wall venting:
- Install a dryer-style exterior vent cap
- Ensure it includes a backdraft damper
Step 7: Add an Inline Fan (If Needed)
If smoke lingers or airflow seems weak:
- Install an inline duct fan
- Match the CFM (cubic feet per minute) rating to your machine
- Position the fan closer to the exit point for best suction
CO₂ lasers like the xTool P2S benefit significantly from stronger airflow when cutting thick wood or acrylic.
Step 8: Test Airflow
Before engraving:
- Turn on the exhaust
- Place a small strip of tissue near the laser bed
- Confirm smoke is pulled outward
You should see immediate suction with no backflow into the room.
Step 9: Add Air Assist for Cleaner Cuts

Air assist:
- Reduces scorching
- Minimizes smoke buildup
- Improves cut quality
- Reduces fire risk
This works alongside ventilation — not as a replacement.
Step 10: Safety Add-Ons


For maximum protection:
- Install a smoke detector
- Keep a fire extinguisher nearby
- Never engrave PVC or unknown plastics
- Clean ducts periodically to remove soot buildup
Step 11: Maintenance Routine
Every month:
- Check duct connections
- Inspect for leaks
- Clean laser optics
- Replace filters (if using purifier) as needed
Poor maintenance reduces airflow and increases health risks.
Quick Ventilation Setup Comparison
Setup Type | Cost | Effectiveness | Best For |
|---|---|---|---|
Window Venting | Low | Very Good | Home workshops |
Wall Venting | Medium | Very Good | Permanent setups |
Fume Extractor | High | Excellent | Apartments / no exterior access |
Final Verdict: Does a Laser Engraver Need Ventilation?
So, does a laser engraver need ventilation? Absolutely. Whether you’re using a CO₂, diode, or fiber laser, proper ventilation is essential for protecting your health, maintaining engraving quality, and extending the life of your machine.
From removing harmful fumes to reducing fire risks and lingering odors, a well-designed ventilation system is not an optional upgrade — it’s a critical part of any safe laser workspace. Investing in the right setup ensures cleaner air, better results, and peace of mind every time you engrave.
Frequently Asked Questions
Is ventilation really necessary for a laser engraver?
Yes. Laser engraving produces smoke, fine particles, and potentially harmful fumes depending on the material. Proper ventilation protects your lungs, improves engraving quality, and prevents residue buildup inside the machine.
Can I use a laser engraver indoors without venting outside?
Yes — but only if you use a high-quality air filtration system with a HEPA and activated carbon filter.
What happens if I don’t ventilate my laser engraver?
Without ventilation, smoke and fumes can:
Irritate your eyes and lungs
Leave strong odors in your home
Damage lenses and mirrors
Increase fire risk
Reduce engraving performance
Over time, poor ventilation can shorten your machine’s lifespan.
Do fiber laser engravers need ventilation?
Fiber lasers produce less smoke when engraving bare metal, but ventilation is still recommended — especially when marking coated metals, plastics, or painted surfaces, which release fumes.
What materials require the strongest ventilation?
Materials that produce heavy smoke or fumes include:
Wood
MDF
Acrylic
Leather
Painted metals
PVC and vinyl should never be engraved, even with ventilation, because they release toxic chlorine gas.