Laser engraving acrylic is a popular technique for creating high-quality, precise designs on a durable and versatile material. Whether you’re crafting custom signage, intricate artwork, or personalized gifts, acrylic offers a smooth, polished surface that responds well to laser technology.
However, achieving professional results requires understanding the right settings, materials, and techniques.
Table of Contents
In this guide, we’ll cover everything you need to know about how to laser engrave acrylic, from selecting the best type to optimizing laser parameters for a flawless finish.
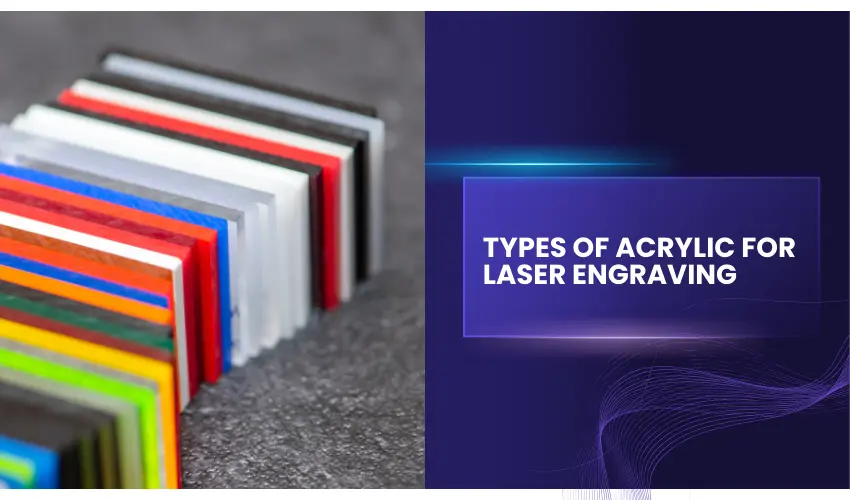
Types of Acrylic for Laser Engraving
Acrylic broadly refers to a heat-sensitive plastic manufactured by a wide range of brands. The other names used in the industry include Lucite and Plexiglass. There are different types of acrylic utilized for different applications.
When it comes to laser engraving applications, cast and extruded are the primary types of acrylic used. Before you begin experimenting on acrylic with your laser, it is vital to know which material fits your scope of needs.
Cast Acrylic
Cast acrylic is made by pouring liquid acrylic in the space between a set of tempered glass sheets. A rubber gasket of a specific thickness is inserted between the sheets to define the desired thickness. Meanwhile, the monomer solidifies and hardens into an acrylic polymer sheet.
When engraved, cast acrylic transitions to a frosty material that is sought after in many customization applications. It can be molded into different shapes and sizes and is often used to make awards, thanks to its good optical quality.
Recommended Cast Acrylic Materials For Laser Engraving

Extruded Acrylic
Just like cast acrylic, extruded acrylic is also commonly used in laser engraving projects. To manufacture extruded acrylic, pellets of resin are fed to an extruder that in turn melts them.
This molten mass of plastic is then passed through a die on high pressure to make a molten sheet after which this sheet is moved across rollers to create the thickness and surface finish.
Making extruded acrylic is easier than making cast acrylic and this makes extruded acrylic cheaper. Extruded acrylic can be engraved, but it usually produces a clear engraving instead of frosted white. It is better suited for cutting rather than detailed engraving.
For the best engraving quality, we recommend using cast acrylic.
Other Factors To Consider When Choosing The Acrylic To Use
When looking for the best acrylic to use for your laser engraving project, you have a choice between extruded and cast acrylic. But there are other factors worth considering – e.g. the color of the acrylic.
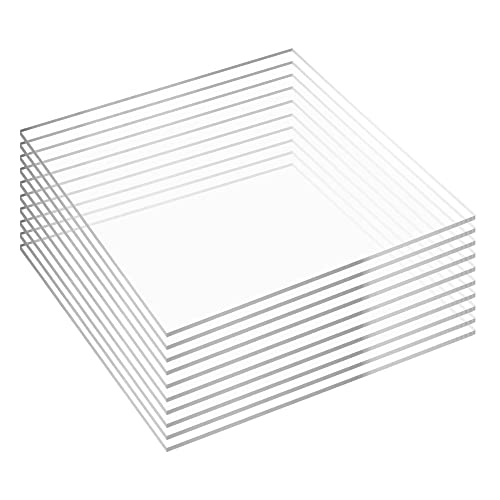
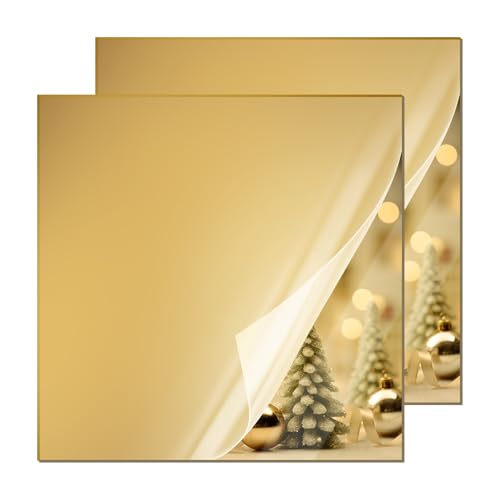
Most people often settle for clear acrylic because it is popular and easy to work with. However, if you are looking for something out of the ordinary, try a tinted color such as red, gold, jade, or sapphire, or even a glow-in-the-dark acrylic,
Opaque colors are also quite amazing. Some of the opaque options that are readily available on the market include black, white blue, red, and brown.
You could also choose a mirrored accent which is simply the normal acrylic which is laminated with material on top, bottom, or the side for a stunning colorful reflection and a unique distinction.
If you are open to experimentation, you can also pair your acrylic with other materials like wood bases or accents, or metal. The end product will definitely look gorgeous.
Choosing the Right Engraver to Laser Engrave Acrylic
When laser engraving acrylic, selecting the right laser type is crucial for achieving the best results. The three most common laser types for engraving acrylic are CO₂ lasers, diode lasers, and UV lasers. Each has its own advantages and limitations, and choosing the right one depends on the type of acrylic and the desired engraving quality.
CO₂ Laser Engravers (Best for Acrylic Cutting & Engraving)

- Power Output: Typically ranges from 40W to 100W+
- Best for: Both engraving and cutting acrylic, especially clear acrylic
- Advantages: CO₂ lasers operate at a 10.6-micron wavelength, which is highly effective at engraving and cutting acrylic with smooth edges.
- Methods for Best Results:
- Optimize Power and Speed: Higher wattage lasers (e.g., 60W+) work best for engraving deep and cutting through thicker acrylic, while lower power lasers (e.g., 40W) are better suited for light engraving.
- Use Masking Tape or Paper: This helps prevent burn marks and residue buildup.
Diode Laser Engravers (Not Ideal for Clear, Blue, White, and Mirrored Acrylic but Can Be Enhanced)

- Power Output: Typically 5W to 40W
- Best for: Engraving colored acrylic, not effective for clear acrylic without additional treatment
- Advantages: More affordable than CO₂ lasers, but they operate at a 450nm wavelength, which passes through clear acrylic without engraving it.
- Methods for Best Results:
- Paint or Coat the Surface: Painting the surface black before engraving and removing the paint afterward can work.
- Slow Speed & High Power: Maximizing power output while reducing speed helps create more defined engravings.
UV Laser Engravers (Best for High-Detail, Surface Marking)

- Power Output: Typically 5W to 10W
- Best for: High-detail surface marking on acrylic, but not suitable for deep engraving or cutting
- Advantages: UV lasers operate at a 355nm wavelength, allowing them to engrave acrylic without creating heat stress or burn marks. They provide ultra-fine detail for intricate designs.
- Methods for Best Results:
- Use Low Power Settings: Since UV lasers don’t generate much heat, they should be used at lower power settings to avoid over-marking.
- Avoid Thick Acrylic: UV lasers work best on thin sheets of acrylic rather than thick pieces, which require CO₂ lasers for cutting.
For best results engraving acrylic, a CO₂ laser is the top choice due to its power and precision. Diode lasers can engrave acrylic with the right preparation, such as using colored acrylic sheets for example yellow or red or painted surfaces.
UV lasers excel in fine detail work but aren’t ideal for deep engraving or cutting. By choosing the right laser and optimizing the engraving process, you can achieve professional-quality results on acrylic.
How To Laser Engrave Acrylic with a CO₂ Laser Engraver?
Preparing Acrylic for Engraving
- Clean the Surface – Remove dust and fingerprints to prevent imperfections in the engraving.
- Remove Protective Film – Some acrylic sheets come with a protective film that should be removed only from the side you plan to engrave. Leave the protective film on the opposite side to prevent scratches and smoke marks.
- Secure the Material – Use clamps or a honeycomb bed to keep the acrylic in place and avoid shifting during the engraving process.
Step-by-Step Guide to Laser Engraving Acrylic
1. Prepare Your Design
Create your design using vector or image editing software. Popular formats include:
- SVG
- PNG
- DXF
- AI
For the best results, use high-contrast images or vector designs.
2. Choose the Right Acrylic Sheet
Select cast acrylic for engraving projects. Remove any protective film only from the side you plan to engrave.
Leave the protective film on the opposite side to prevent scratches and smoke marks.
3. Adjust Laser Settings
Laser settings vary depending on your machine’s power and the acrylic thickness.
Typical starting settings for CO₂ lasers:
- Speed: Medium to high
- Power: Medium
- Passes: 1–2
Always perform test engravings before starting your final project.
4. Focus the Laser
Accurate focus ensures sharp engraving results. Use the focusing tool included with your laser engraver or manually adjust the distance between the laser module and the acrylic surface.
Good focus helps create crisp, detailed engravings.
5. Start the Engraving Process
Once your design and settings are ready:
- Place the acrylic sheet on the laser bed
- Secure the material to prevent movement
- Start the engraving job from your software
During engraving, the laser will remove the top layer of acrylic to create your design.
Post-Engraving Finishing Techniques
- Clean with Soapy Water: Gently wash the engraved area to remove dust.
- Flame Polishing: Use a flame polisher to smooth out edges after cutting.
- Buffing and Polishing: Use a polishing compound for a refined finish.
Best Practices for Laser Engraving Acrylic
- Use Masking Tape: Applying a thin layer of masking tape can reduce burn marks and protect the surface.
- Engrave in Reverse for Clear Acrylic: If engraving on clear acrylic, reverse the design and engrave on the back side for a polished look.
- Use Proper Ventilation: Acrylic emits fumes when laser-cut, so ensure adequate ventilation or use an exhaust system.
Common Mistakes to Avoid
- Using the Wrong Acrylic Type – Always use cast acrylic for engraving; extruded acrylic does not yield the same quality.
- Engraving Too Deeply – Deep engravings can cause distortion or warping.
- Overpowering the Laser – Excessive power can lead to charring or uneven edges.
What You Need To Know About How To Laser Engrave Acrylic

Acrylic’s uniqueness lies in the fact that it can absorb certain light wavelengths. When exposed to laser light, it soaks up all its energy like a sponge. This means that acrylic can produce amazing engravings even on low-watt lasers.
You can also engrave acrylic both on its front as well as its back. Either way, you will end up with a pleasant end product.
However, engraving at the back is a great way to achieve a “look-through” effect on the front of the product. This gives the product a dimensional quality that takes its look to the next level.
When engraving on the back of acrylic, you have to remember that your text and graphics should be reversed to make sure they read normally from the front.
Most graphic design software, like Coreldraw and Photoshop, has a mirror effect that you can use to reverse the image and text before you commence the laser engraving.
When engraving on acrylic, it is advisable to measure twice and cut once. This is actually a timeless technique that’s used to avoid expensive mistakes when engraving on expensive items.
To find out if your engraving skills are up to par, apply a tinted polyester mask on your acrylic sheet and engrave it on low power (about 5%) and 100% speed. Cut the mask only in this trial and error phase. Proceed to the actual acrylic only when you are satisfied that your design will come out as desired.
What are The Correct Settings To Laser Engrave Acrylic With a CO₂ Laser?
The outcome of your acrylic engravings will largely depend on the settings of your laser. These are the recommended settings to watch out for.
Focus
The focus of the laser beam is an important setting in all laser engraving projects. Theoretically, if you engrave huge fill areas on your material, you will end up with horizontal raster lines that make your engraving coarse and unpleasant.
The raster lines are responsible for creating an ugly horizontal pattern that shows on your product. To reduce these lines, enlarge the spot size of the laser. You are looking for a focus lens that forms a cone-shaped beam. This is what enlarges with distance as it moves away from the focal point. Here are a few best practices on focus;
- Avoid defocusing if your acrylic sheet is less than 6mm
- Only defocus if the cut edge has some wavy lines at the bottom or if it’s not straight.
- Defocusing ensures better beam usage
Power and speed
Laser engraving acrylic works best with low power and high speeds. If you are working on painted acrylic or one that is screen-printed on the side, turn the power up by 10% but maintain the speed you would use on unpainted acrylic. This gives the laser more energy to cut through the paint.
Sometimes, you may experience a few problems when engraving acrylic such as melting or cracking. If you do, it is a clear indication that you are using too much heat. The solution to this problem is to reduce the power or increase the speed of the laser. Refer to your laser system to identify the correct speed and power settings for the material you are working on.
Below you will find the suggested CO₂ Laser speed and power settings for engraving Acrylics. Settings may vary based on the laser engraver and acrylic type, but here are general recommendations:
Laser Power | Engraving Depth | Speed (mm/s) | Power (%) | DPI (Resolution) | Air Assist |
|---|---|---|---|---|---|
40W | Light Engraving | 300-400 | 20-30 | 300-500 | Optional |
50W | Medium Engraving | 300-400 | 30-40 | 400-600 | Optional |
60W | Deep Engraving | 200-300 | 40-60 | 500-600 | Optional |
80W+ | Deep Engraving | 150-250 | 50-70 | 600+ | Optional |
Frequency
The material in question will determine the ideal frequency setting of your laser. However, you might want to begin on a high frequency of 10,000 – 20,000 Hz if using cast acrylic and a lower frequency of 2,000 – 5,000 Hz if it extruded acrylic.
A lower frequency results in a low pulse which in turn increases the pulsed energy or reduces the constant energy in the acrylic. This phenomenon causes less boiling, less flaming, and slower cutting speed.
Exhaust
Having some form of suction beneath your acrylic is optional but highly recommended. It can help you get rid of gases that may otherwise get trapped in the cut kerf. This helps to avoid flaming, controls frosting of the acrylic, and prevents the gases from igniting. Compressed air of 15PSI (maximum) in a large cone diameter should do the trick.
How To Laser Engrave Clear Acrylic with a Diode Laser Engraver?
Laser engraving clear acrylic with a diode laser engraver can be tricky because clear acrylic does not naturally absorb diode laser light.
Unlike CO₂ lasers, which engrave clear acrylic easily, diode lasers typically pass through transparent materials without leaving a mark.
However, with the right techniques and materials, you can still achieve clean and visible engravings on clear acrylic using a diode laser engraver.
Why Clear Acrylic Is Difficult to Engrave with Diode Lasers
Most diode lasers operate in the blue light spectrum (around 445–455 nm). Clear acrylic allows this light to pass through rather than absorbing it, which means the laser does not generate enough heat to engrave the surface.
Because of this, you need to add a coating or masking layer so the laser can interact with the material.
5 Effective Methods for Engraving Clear Acrylic
Method 1: Use xTool Black Marking Spray
One of the most reliable ways to engrave clear acrylic with a diode laser is to apply a laser marking spray such as xTool Black Marking Spray.
This spray creates a temporary dark coating on the acrylic surface, allowing the laser to interact with the material and produce a clear engraving.
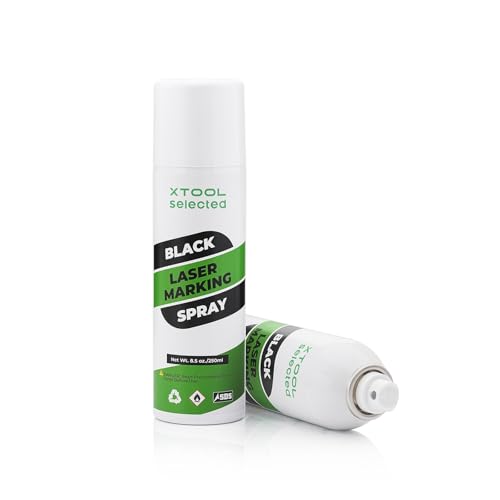
- Important Usage Instructions: 1. This spray contains powder and should be shaken well before use, but avoid shaking too vigorously, as this may cause a bulge at the bottom. Shake until you hear the glass bead moving, it’s ready for use. 2. When using, do not shake vertically. Just shake it from side to side. We recommend watching the instructional video before use. 3. Do not expose it to the sun.
How to do it:
- Clean the acrylic surface to remove dust or fingerprints.
- Shake the marking spray well and apply a thin, even layer to the engraving area.
- Allow the coating to dry completely before engraving.
- Start the engraving process.
- After engraving, wipe the surface with a damp cloth to remove the remaining spray and reveal the engraved design.
This method works particularly well for high-detail designs and text, producing consistent engraving results.
Method 2: Place Black Cardstock Under the Acrylic
Placing a sheet of cardstock beneath the acrylic can significantly improve engraving quality. While any colored cardstock will work, black cardstock is ideal because it absorbs excess laser energy and reduces reflections.
This method is particularly helpful when using diode lasers. Our recommended black cardstock is listed below.
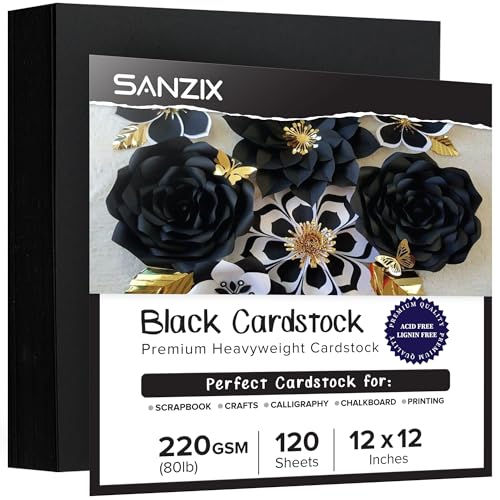
- 💎 【Heavyweight & Durable】 This 120 sheets black card stock 12 x 12 inches is crafted with 80 lbs (220 GSM) paper, offering a robust and thick material ideal for crafting, ensuring durability for all your projects.
How to do it:
- Cut a piece of black cardstock slightly larger than the acrylic sheet.
- Place the cardstock on the laser bed and set the acrylic sheet on top.
- Secure both materials so they don’t move during engraving.
- Start engraving as usual—the cardstock helps improve laser absorption and clarity.
Method 3: Use a Black Marker
Applying a layer of black marker ink on the engraving area helps the laser focus and absorb energy more effectively. Our recommended black marker is listed below.

- Jumbo Black Markers: BIGTHUMB Black Jumbo Poster Markers is made with the highest-quality non-toxic, acid-free, no odor, no-leakage water-based acrylic ink that is waterproof, quick dry, long-lasting, and has a smooth ink flow. Each fat permanent marker conforms to ASTM d-4236 and EN-71 safety standards.
How to do it:
- Color the engraving area with a permanent black marker, applying 2–3 layers for full coverage.
- Allow the ink to dry completely (about 1–2 minutes).
- Run the engraving job.
- After engraving, wipe away the remaining ink using water and a soft cloth. Avoid scrubbing since acrylic can scratch easily.
Method 4: Use Tempera Paint Sticks (Kwik Stix)
Another effective way to engrave clear acrylic is by applying a thin layer of tempera paint sticks, such as Kwik Stix Black Solid Tempera Paint Sticks.
These paint sticks create a dark surface that helps the laser absorb energy more efficiently, resulting in sharper and more visible engravings.
A major advantage of this method is that it’s fast and mess-free. Tempera paint sticks provide smooth, solid coverage and dry quickly—usually in about 90 seconds—without the need for brushes, water, or cups.

- FAST, MESS-FREE PAINTING - Enjoy vibrant color without spills or cleanup—Kwik Stix washable paint sticks deliver smooth, solid tempera coverage that dries in just 90 seconds. No brushes, cups, or water needed—just twist and paint. Perfect for mess free painting at home, school, daycare, or on the go, these easy twist up paint sticks keep hands, furniture, and clothing clean while making art time simple, fun, and stress-free for kids and toddlers.
How to do it:
- Twist up the Kwik Stix black tempera paint stick and apply an even layer over the acrylic area you want to engrave.
- Allow the paint to dry completely (typically about 90 seconds).
- Run the engraving job as usual.
- After engraving, wipe away the remaining paint with a damp cloth to reveal the engraved design. Be gentle while cleaning to avoid scratching the acrylic surface.
This technique works especially well for large designs, text, and detailed engravings, and it’s a convenient option for users who want a quick, low-mess solution.
Method 5: Use Masking Tape
Masking or marking tape can also create a surface that absorbs the laser beam while protecting the acrylic from smoke marks. We recommend using TapeManBlue painters’ tape.
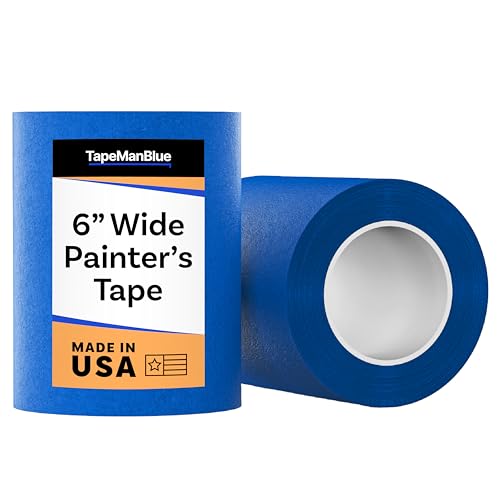
- SUPERIOR ADHESION & CLEAN REMOVAL: Our wide blue painters tape, perfect as 3D printer tape or laser masking tape, removes cleanly without residue, streaks, or stains for up to 21 days. Unlike other painting tape or masking tape that peels prematurely, TapeManBlue's extra wide painters tape stays put on your surfaces. Whether you're using it as 3D printing tape, for laser engraving, or general painting projects, our thick painters tape delivers reliable performance every time.
How to do it:
- Cover the engraving area with masking tape, smoothing out any air bubbles.
- Start the engraving process.
- After engraving, allow the acrylic to cool for about one minute.
- Carefully peel off the tape. If adhesive residue remains, remove it with a mild adhesive remover.
Using any of these methods will help improve contrast, laser absorption, and engraving clarity when working with clear acrylic on a diode laser engraver.
Recommended Settings To Laser Engrave Acrylic With A Diode Laser Engraver
Laser Power | Speed (mm/min) | Power (%) | DPI (Resolution) | Passes | Air Assist |
|---|---|---|---|---|---|
5W | 900-1200 | 80-100 | 300-400 | 1-2 | Off |
10W | 1200-1800 | 70-90 | 400-500 | 1-2 | Off |
20W | 1800-2500 | 60-80 | 500-600 | 1 | Off |
🔹 Slower speed = deeper engraving.
🔹 Higher DPI = smoother frost effect.
Final Thoughts
Laser engraving acrylic is a fantastic way to create professional-looking signs, gifts, and decorative items. With the right acrylic material, proper laser settings, and a bit of practice, you can produce clean and detailed engravings every time.
Whether you’re using a beginner machine or a more advanced system, acrylic remains one of the best materials for laser engraving projects thanks to its versatility, durability, and beautiful finished results.
By following the tips in this guide, you’ll be well on your way to mastering acrylic laser engraving and creating stunning custom designs.
Frequently Asked Questions
Can you laser engrave acrylic with a diode laser?
Yes, acrylic can be engraved with a diode laser, but the results depend on the type of acrylic and its color. Dark or opaque acrylic engraves easily, while clear acrylic usually requires a coating such as paint, marker, masking tape, or marking spray to help the laser interact with the surface.
Can a laser engraver cut acrylic as well as engrave it?
Yes, many laser engravers can both cut and engrave acrylic. Higher-powered machines (10W–20W diode lasers or CO₂ lasers) can cut thin acrylic sheets, while lower-powered lasers are typically better suited for engraving rather than cutting.
Why is my acrylic engraving not visible?
If your engraving is faint or not visible, it may be because the acrylic is not absorbing enough laser energy. This often happens with clear acrylic. Applying a dark coating, masking tape, or marking spray can help improve contrast and produce clearer engravings.