This article offers a comprehensive guide to learning how to engrave jewelry, catering to both beginners and seasoned enthusiasts.
It covers the essential techniques and tools required for successful jewelry engraving, including the types of engraving machines and hand tools best suited for various materials like gold, silver, and stainless steel.
Table of Contents
The guide also discusses design considerations, preparation steps, and tips for achieving precision and quality in your work. With practical advice and expert insights, this article provides everything you need to start creating beautifully engraved jewelry pieces that stand out.
So, What Exactly is Jewelry Engraving?

In simple words, jewelry engraving is the act of carving into the surface of a precious stone or material to create a unique design in order to create personalized jewelry.
While the highly detailed and precision-based engraving process was once a complicated task that required a skilled craftsman, things have changed over the years.
With advanced technology, you can easily engrave complicated designs onto your own jewelry with just a little patience and practice.
What Are the Different Methods Used to Engrave Jewelry?
Jewelry engraving is a cherished technique that personalizes and enhances the beauty of jewelry. There are several methods used to engrave jewelry, each offering unique results and suited to different materials and designs. Here’s an overview of the various engraving methods used in the industry:
1. Laser Engraving (Most Popular)
Laser engraving uses concentrated light energy to mark or remove material from jewelry surfaces.
Best Lasers for Jewelry:
- Fiber laser (ideal for metals)
- Infrared laser
- UV laser
For example, fiber systems like the Gweike G2 Max 50W Fiber Laser Engraver are highly effective for engraving stainless steel, gold, and silver.
2. Rotary Tool Engraving
Rotary tools are great for:
- Light engraving
- Decorative surface carving
- Practice and hobby projects
However, for professional-level jewelry engraving on precious metals, a fiber or infrared laser will provide cleaner, more consistent results.
If you’re just getting started with jewelry engraving, a precision rotary tool is a great entry point before moving into laser systems.
3. Hand Engraving
This traditional method uses engraving tools and gravers to carve designs manually.
- Artistic control
- No electricity required
- Requires years of practice
Hand engraving relies on specialized tools such as gravers (burins) for carving metal, engraving blocks or vices to hold pieces steady, magnifying loupes or microscopes for precision, pneumatic engraving machines for powered control, and polishing tools to refine the final finish.
Achieving detailed, high-quality results requires significant skill, including proper tool sharpening, maintaining consistent cutting angles, and careful preparation before engraving. Precision and control are essential for successful hand-engraved jewelry.
Method 1: Engrave Jewelry Using a Laser Engraver
Laser engraving is one of the most precise and professional ways to personalize jewelry. Whether you’re engraving names on a necklace, initials on a ring, or a logo on a bracelet, laser technology makes the process fast, clean, and highly detailed.
Here’s a complete beginner-friendly guide to help you get started.
Step 1: Choose the Right Laser Machine
The type of laser you need depends on the jewelry material.
Option One: Fiber Laser (Best for Metal Jewelry)
Ideal for:
- Sterling silver
- Gold
- Stainless steel
- Brass
- Platinum
Fiber lasers provide sharp detail and deep engraving capability.
Our recommended Fiber Laser To Engrave Jewelry: Gweike G2 Max 50W Fiber Laser

- INDUSTRIAL-GRADE ENGRAVING SPEED: The GWEIKE G2 Max 50W Fiber Laser Engraving Machine Is Equipped With A High-Speed Precision Galvanometer, Achieving An Engraving Speed Of Up To 15000 mm/s And An Accuracy Of 0.001 mm. Its Powerful Performance Significantly Enhances Work Efficiency. Supporting HD 8K Engraving Resolution, It Precisely Captures Every Detail, Delivering An Exceptional Engraving Experience.
The Gweike G2 Max 50W Fiber Laser Engraver is an excellent choice for jewelry engraving due to its high precision, strong metal compatibility, and professional-grade performance in a compact desktop design.
Its 50W fiber laser (1064nm wavelength) cleanly engraves precious metals like sterling silver, gold, stainless steel, platinum, and brass without damaging delicate pieces.
It delivers fine detail for small items such as rings, pendants, bracelets, and watch backs, producing sharp lines and clean edges.
The machine also supports deep engraving, long-lasting marks, texture effects, and serial numbers—ideal for custom and premium jewelry.
With fast marking speeds, excellent contrast on silver and stainless steel, compact size, and long lifespan (100,000+ hours), it’s well-suited for jewelry entrepreneurs, small businesses, and professional engravers.
Option Two: Infrared (IR) Laser
Ideal for surface marking:
- Sterling silver
- Gold
- Stainless steel
- Brass
- Aluminum
A 5W IR (Infrared) laser—typically operating at 1064nm wavelength—is designed primarily for metal marking and light engraving, especially on delicate or small items.
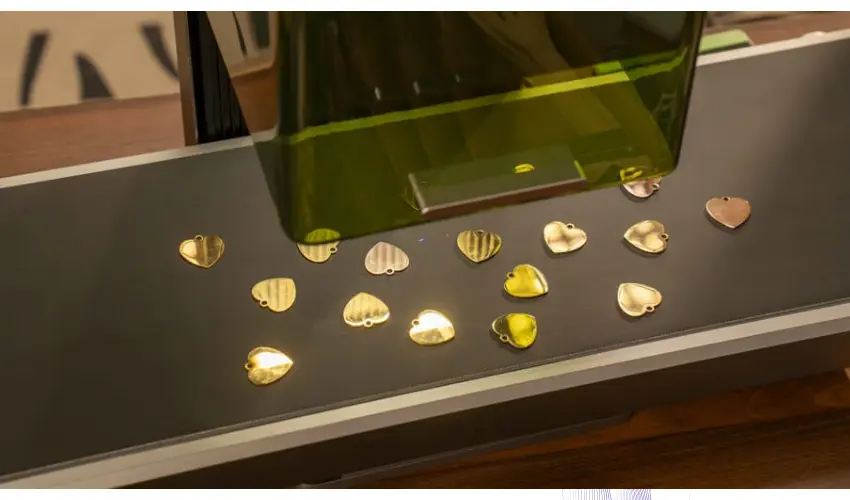
Our Recommended Infrared Laser To Engrave Jewelry: xTool F2 5W IR & 15W Diode Portable Dual Laser Engraver
- Dual-Laser Versatility, Endless Creation: Our 15W Diode & 5W IR dual-laser combo makes this laser engraver truly versatile, unlocking more possibilities on 300+ materials. The 5W IR delivers deep, dark, vivid color marking on metal, while the 15W diode expertly handles 3D embossing and cutting through thick materials.
The xTool F2 is one of the best compact infrared lasers for jewelry engraving, especially for small businesses and hobbyists.
The dual-laser system—a 5W infrared (1064nm) laser for metal engraving and a 15W diode laser for wood, leather, and acrylic.
For jewelry work, the 5W IR laser delivers clean, precise surface marking on sterling silver, gold, stainless steel, and brass, making it ideal for rings, pendants, and bracelets.
It produces sharp fine details, small text, and personalized designs without damaging delicate pieces.
The machine is also portable and beginner-friendly, with fast setup and user-friendly software. While it’s not built for deep industrial engraving, it excels at light engraving, customization, and small-batch production.
Step 2: Select the Right Jewelry Material
Common engraving-friendly materials include:
- 925 sterling silver
- Stainless steel
- Gold
- Brass
- Aluminum
Smooth, flat surfaces produce the best results.
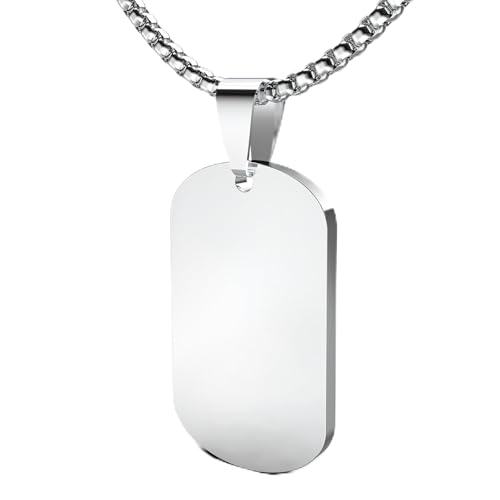
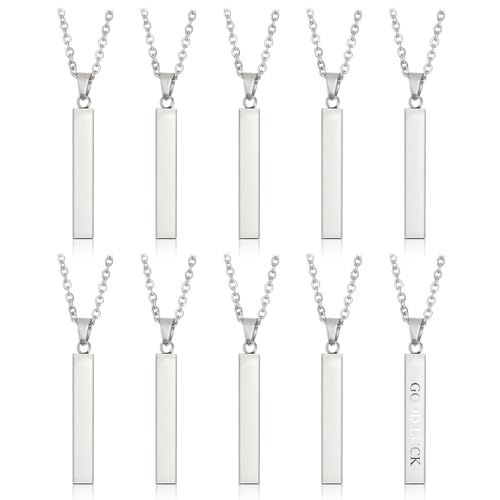
Some great laser engraving blanks are available on Amazon:

Step 3: Prepare To Engrave Jewelry
Before engraving:
- Clean the surface with alcohol to remove oils
- Dry completely
- Secure the piece using clamps or a jig
- Use a rotary attachment for rings or bracelets
Proper stability ensures precise engraving.
Step 4: Create Your Design
Use vector design software like:
- LightBurn
- Adobe Illustrator
- CorelDRAW
Tips:
- Use vector files (SVG, AI, DXF) for sharp lines
- Avoid overly complex designs on small pieces
- Adjust font thickness for readability
Step 5: Engrave Jewelry Laser Settings (Starting Point)
Always test on a scrap piece first.
Fiber Laser Settings (Silver/Stainless Steel – Starting Range)
- Power: 30–60%
- Speed: 800–1200 mm/s
- Frequency: 20–60 kHz
- Passes: 1–3
Lower power for surface marking.
Multiple passes for deeper engraving.
Step 6: Focus the Laser Properly
Correct focus height is critical.
If focus is off, engraving may look blurry or uneven.
Most machines include a focus tool or red-dot guide.
Step 7: Run a Test Engraving
Before engraving the final piece:
- Test alignment
- Confirm depth
- Check contrast
- Adjust power if needed
Testing prevents costly mistakes—especially on gold or silver.
Step 8: Start Engraving
Once everything is aligned:
- Monitor the first few seconds
- Ensure airflow is working
- Watch for overheating
Laser engraving jewelry typically takes 1–10 minutes depending on design complexity.
Step 9: Clean and Polish
After engraving:
- Wipe off residue
- Use a silver polishing cloth if needed
- Restore shine around the engraved area
Polishing enhances the final presentation.
Tips for Better Jewelry Engraving Results
- Keep designs simple and readable
- Use moderate power to avoid discoloration
- Maintain proper ventilation
- Clean your lens regularly
- Secure small pieces carefully
Precision matters more in jewelry than in larger materials.
Common Mistakes to Avoid
- Using too much power
- Skipping focus adjustment
- Not cleaning the metal first
- Overcrowding text
- Engraving without testing
Small jewelry pieces leave little room for error.
Can Beginners Engrave Jewelry?
Yes. With modern fiber or infrared laser systems, beginners can produce professional-quality results with practice and proper testing.
Jewelry engraving is one of the most profitable niches in laser engraving because personalized items carry high emotional value.
Profitable Jewelry Engraving Ideas
- Birthstone necklaces
- Name pendants
- Coordinate bracelets
- Wedding rings
- Memorial lockets
- Pet tags
Personalized jewelry consistently ranks among top-selling custom products.
Equipment You’ll Need to Start
Minimum setup:
- Fiber or infrared laser
- Design software (LightBurn or similar)
- Jewelry blanks
- Safety glasses
- Polishing tools
Optional but recommended:
- Rotary attachment
- Fume extractor
- Precision jig
How Much Can You Make Engraving Jewelry?
Example profit breakdown:
- Silver blank cost: $8–$15
- Engraving time: 5–10 minutes
- Retail price: $30–$80
Jewelry engraving offers high profit margins due to personalization value.
Is Jewelry Engraving Hard to Learn?
With modern laser machines, beginners can produce professional results within weeks.
Learning curve factors:
- Software design skills
- Understanding power/speed balance
- Proper material testing
Consistency improves quickly with practice.
Method 2: Engrave Jewelry Using a Rotary Tool
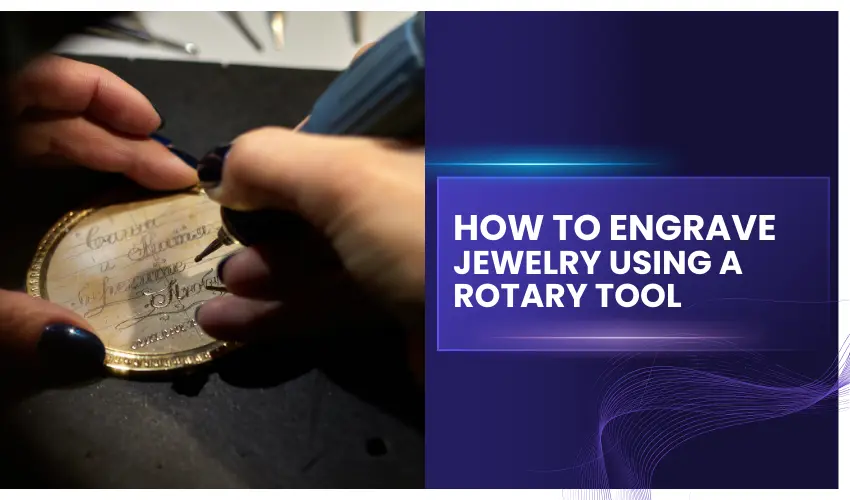
Engraving jewelry with a rotary tool is a cost-effective way to add a personal and artistic touch to your favorite pieces.
Rotary tools are versatile, easy to use, and perfect for creating intricate designs on various materials like metal, glass, and wood. This guide will walk you through everything you need to know about engraving jewelry using a rotary tool.
Why Use a Rotary Tool for Jewelry Engraving?
A rotary tool offers precision and control, making it ideal for jewelry engraving. Its compact size and wide range of engraving bits allow you to create detailed designs, initials, or patterns with ease.
Plus, it’s affordable and suitable for both beginners and professionals.
Step-by-Step Guide to Engraving Jewelry with a Rotary Tool
Step 1: Choose The Best Rotary Tool To Engrave Jewelry
If you’re looking for a rotary tool to engrave jewelry, you’ll want something lightweight, precise, and capable of fine detail work on metal. Here are three of the top-rated rotary tools on Amazon that work well for jewelry engraving.
1. Dremel 3100
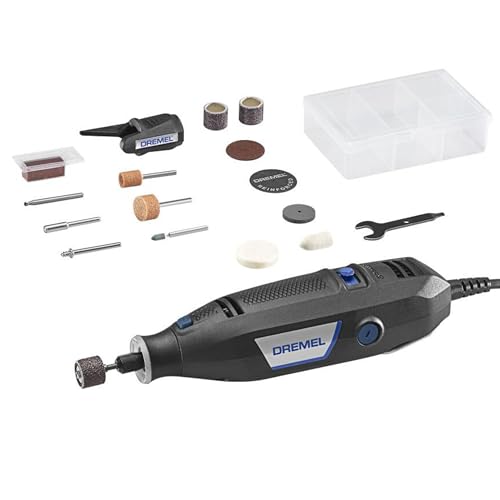
- HIGH performance motor: 33% more powerful than then Dremel 200 , the 3100’s powerful 1.2 amp motor delivers strong performance and power
Best Overall Rotary Tool for Jewelry Engraving
The Dremel 3100 is one of the most popular and versatile rotary tools available. With variable speeds ranging from 5,000 to 35,000 RPM, it allows you to control engraving depth on metals like sterling silver, brass, and stainless steel.
Why It’s Great for Jewelry:
- Precise speed control
- Wide range of compatible engraving bits
- Reliable motor performance
- Comfortable ergonomic grip
Best For: Beginners and hobbyists who want versatility beyond engraving.
2. Dremel Stylo+
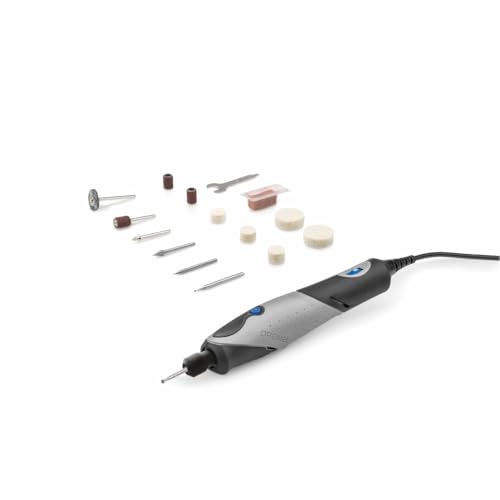
- Precision Meets Comfort: The Dremel Stylo+'s pen-like design offers unparalleled control and ease of use for light-duty detailed projects.
Best for Fine Detail Work
The Dremel Stylo+ is lightweight and pen-shaped, making it ideal for delicate jewelry engraving tasks. It offers excellent control for small pendants, rings, and detailed lettering.
Why It’s Great for Jewelry:
- Slim, pencil-like design
- Excellent control for tiny designs
- Lightweight and easy to handle
- Speed range: 5,000–22,000 RPM
Best For: Intricate designs and detailed personalization.
3. GOXAWEE Rotary Tool Kit

- 🎁 Men's Gifts 💓 Birthday Gifts for Dad 💕 Gifts For School Day 💝 Father's Day Gift
Best Budget Option
If you’re starting out and want an affordable option, the GOXAWEE Rotary Tool Kit offers strong value. It comes with multiple accessories, including engraving bits suitable for light metal engraving.
Why It’s Great for Jewelry:
- Budget-friendly
- Includes many attachments
- Variable speed control
- Good for light engraving work
Best For: Beginners testing jewelry engraving before investing in premium tools.
Step 2: Choose Your Design
- Decide on the text, pattern, or image you want to engrave.
- Sketch it on paper first to visualize the final look.
Step 3: Prepare the Jewelry
- Clean the jewelry to remove dirt and oils.
- Use a wax pencil or marker to draw the design directly onto the jewelry surface.
Step 4: Secure the Jewelry
- Place the jewelry in a clamp or vise or use some tape to hold it steady during engraving.
- Ensure padding is used to prevent scratching or damaging the piece.
Step 5: Select the Right Bit
- Use a fine-tipped engraving bit for detailed designs.
- For deeper or thicker lines, switch to a larger bit.
Step 6: Start Engraving
- Turn on the Rotary Tool and set it to a low-to-medium speed.
- Gently guide the tool along the design, applying even pressure.
- Take your time and work in small sections to maintain control and accuracy.
Step 7: Inspect and Adjust
- Check your progress frequently to ensure the design is coming out as planned.
- If needed, retrace lines to deepen or refine the engraving.
Step 8: Polish and Finish
- Use a buffing pad and polishing compound to smooth out rough edges.
- Clean the piece with a soft cloth to remove residue and reveal the final design.
Tips for Successful Jewelry Engraving with a Rotary Tool
- Practice First: Use scrap metal or inexpensive jewelry to hone your skills.
- Work Slowly: Rushing can lead to mistakes or uneven lines.
- Use Proper Lighting: A well-lit workspace helps you see fine details clearly.
- Experiment with Bits: Different bits produce various effects and depths.
- Stay Steady: Use both hands to guide the tool for better control.
Common Mistakes to Avoid
- Skipping Practice: Always test your design on a sample piece before working on valuable jewelry.
- Using the Wrong Bit: Choose bits suitable for the material you’re engraving.
- Overheating the Jewelry: High speeds can cause the material to heat up and damage the piece.
Method 3: Engrave Jewelry Using Hand Engraving Tools

Hand engraving jewelry at home is a traditional skill that requires patience, control, and practice. Designs can either be drawn directly onto the metal surface or transferred using tracing or stamping methods.
Step-by-Step Guide to Hand Engraving Jewelry
- Choose Your Blank
Start with a metal or jewelry blank that matches the shape of your final design. - Apply Your Design
Draw, trace, or stamp your design onto the metal surface. - Begin Engraving
Using your hand engraving tool, gently scratch along the design lines to start cutting into the metal. Tip: If you make a mistake or leave unwanted marks, you can usually polish them away by hand or with a polishing machine. - Refine the Design
Compare your work to the original design and continue engraving until you achieve the desired depth and detail. - Finish the Piece
Polish and complete your jewelry piece as you normally would.
Proper Engraving Technique
When starting your first cut:
- Push the tool forward and downward with steady, even pressure.
- Repeat passes until the desired depth is achieved.
- Hold the tool at a consistent angle—not too steep and not too shallow.
Finding the correct angle takes practice, and developing control comes with experience.
For beginners, simple tools such as a V-shaped graver or knife graver are ideal starting points.
Common Types of Hand Engraving Tools
Choosing the right tool is essential for clean, professional results. Here are some commonly used steel engraving tools:
- Scraper – Removes surface imperfections and cleans the metal.
- Spit Stick – Cuts smooth, flowing lines.
- Scorper – Used for carving and removing larger sections of metal. Available in profiles such as flat, round edge, oval, and onglette.
- Graver – Cuts decorative lines that can widen or narrow depending on angle and pressure. Available in multiple shapes including knife, chisel, square, diamond, flat, round, and oval.
Mastering hand engraving takes time, but with the right tools and consistent practice, you can achieve beautifully detailed metal designs at home.
We recommend this 6-piece Graver Set as an excellent hand engraving kit for jewelers who want reliable, high-quality tools for stone setting and decorative metal work.
Made from durable high-speed steel (HSS), these gravers hold a sharp edge well and provide the control needed for precise cuts.
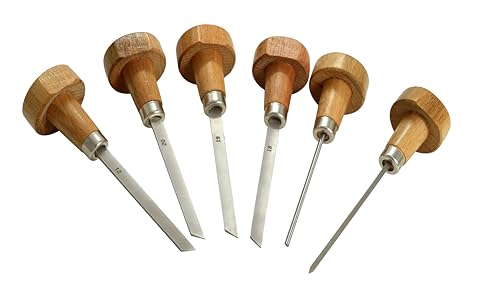
- Set includes 6pcs Gravers high speed steel gravers, wood graver handles, and a model plate showing step by step examples of setting a stone
The set includes 3 flat gravers (No. 6 & 12), 2 onglette gravers (No. 0 & 1), 1 round graver (No. 6), and 1 knife graver (No. 2), covering a wide range of engraving and stone-setting tasks. It also comes with comfortable wooden handles.
These gravers can be used for decorative engraving, personalization, and marking metal pieces, as well as for setting diamonds and other stones in modern jewelry designs
A versatile and affordable hand engraving tool set, perfect for beginners and intermediate jewelers looking to practice fine metal engraving and stone setting.
The Bottom Line
Jewelry engraving is a rewarding skill that adds a personal touch to beautiful pieces. By understanding the tools, materials, and techniques involved, you can create stunning, customized jewelry.
Whether you’re engraving for personal satisfaction or starting a small business, mastering this craft will allow you to turn your creative visions into reality.
Frequently Asked Questions
What is the best method for engraving jewelry?
The best method depends on the material.
Fiber lasers are ideal for metals like silver, gold, and stainless steel.
Infrared lasers work well for fine surface marking on precious metals.
Hand engraving is traditional but requires more skill and time.
For precision and consistency, laser engraving is the most popular choice today.
Can you engrave all types of jewelry?
Most metal jewelry can be engraved, including:
Sterling silver (925)
Gold
Stainless steel
Platinum
Brass
However, plated or very thin jewelry requires lower power settings to avoid damage.
How deep can laser engraving go on jewelry?
Depth depends on the laser type and wattage.
A 5W IR laser is best for surface marking.
Higher wattage fiber lasers (30W–50W) can create deeper engravings suitable for long-lasting personalization or hallmarks.
Always test first to avoid over-engraving.
Does engraving damage jewelry?
When done correctly, laser engraving does not damage jewelry. Proper focus, controlled power settings, and secure positioning prevent warping, discoloration, or excessive material removal.
Overpowering the laser is the most common cause of damage.
Is jewelry engraving profitable?
Yes. Personalized jewelry has high emotional value and strong market demand. Since engraving adds customization without significantly increasing material costs, profit margins can be very attractive for small businesses and online sellers.