Laser engraving has become a popular method for transferring images and photos onto various materials. Whether you’re looking to personalize gifts, create custom decor, or start a business in the laser engraving space, knowing how to laser engrave a photo is a crucial skill.
Table of Contents
In this article, we’ll walk you through everything you need to know to get started with laser engraving a photo, from the necessary equipment to tips for perfect results.
What Is Photo Laser Engraving?
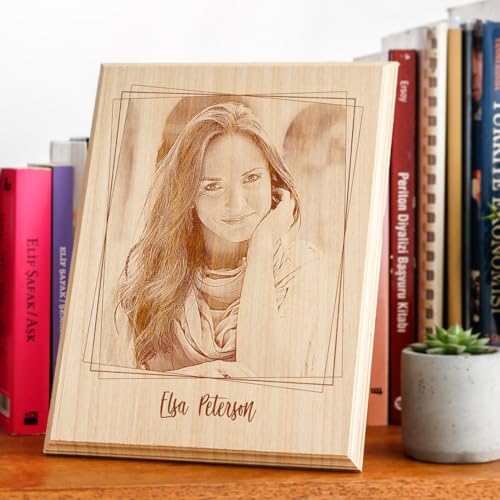
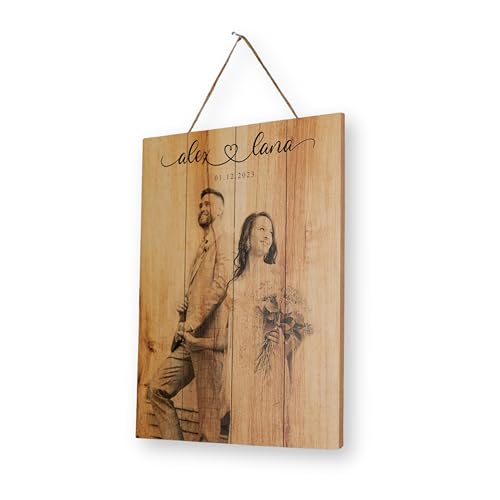
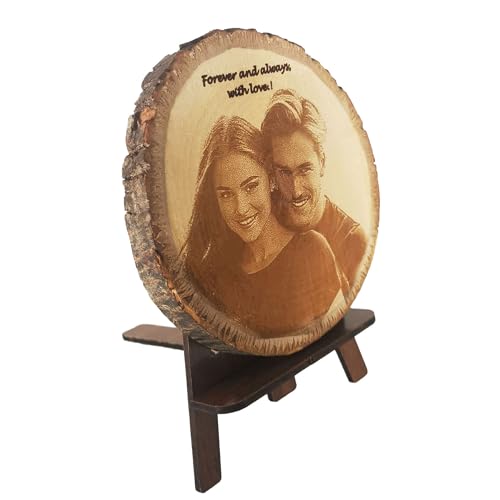
Photo laser engraving is the process of converting a digital image into engraved marks on a material using a laser engraver. The laser burns, etches, or marks the surface at varying intensities to recreate light and dark areas from the image.
Unlike printed photos, laser-engraved photos are:
- Permanent
- Fade-resistant
- Scratch-resistant (depending on material)
- Professional and premium-looking
How to Laser Engrave a Photo
What You’ll Need to Get Started
To laser engrave a photo, you’ll need a few essential tools and materials. Here’s a breakdown:
Laser Engraving Machine
The most important piece of equipment is, of course, the laser engraver. There are various types of machines available, such as CO2 lasers or Diode lasers. CO2 lasers or Diode lasers are typically used for engraving photos on materials like wood, acrylic, leather, and glass. Choose one based on the materials you plan to engrave.
Design Software
Laser engravers rely on design files to operate. Common software programs used for creating and editing files for engraving include LightBurn, Adobe Illustrator, CorelDRAW, or more beginner-friendly options like Inkscape. The design will need to be in a vector format or converted into one.
High-Quality Photo
The quality of your photo is crucial in achieving a clear and detailed engraving. Choose a high-resolution photo with good contrast to ensure the details show up well when engraved. Black-and-white images work best for engraving.
Engraving Material
The material you engrave on will influence how the photo turns out. Some of the most popular materials for photo engraving are:
- Wood (e.g., plywood, MDF)
- Acrylic
- Leather
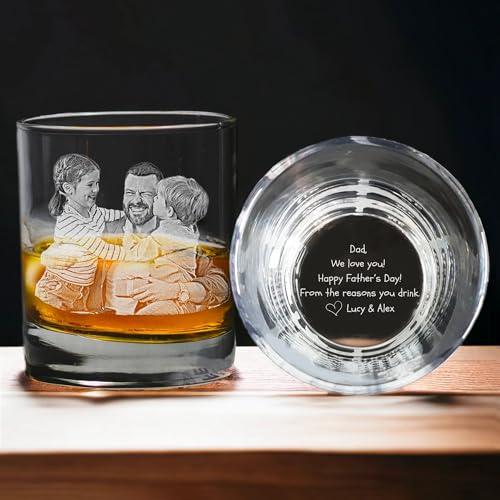
- Glass
- Metal (for fiber lasers) Choose a material that complements the style and use of the photo you’re engraving.
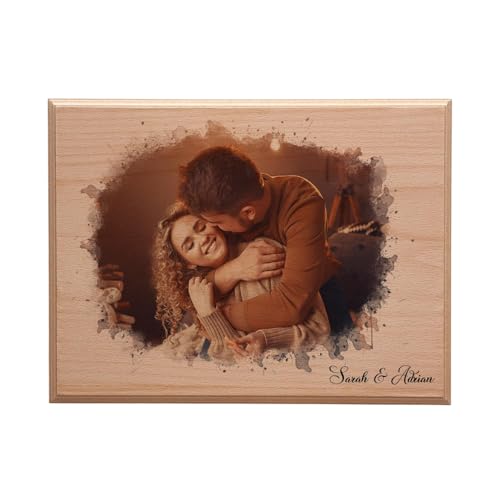
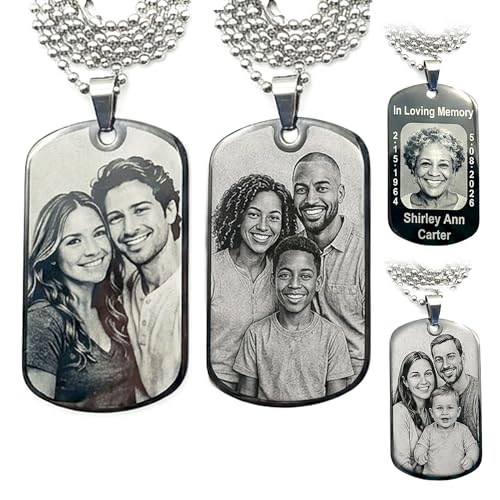
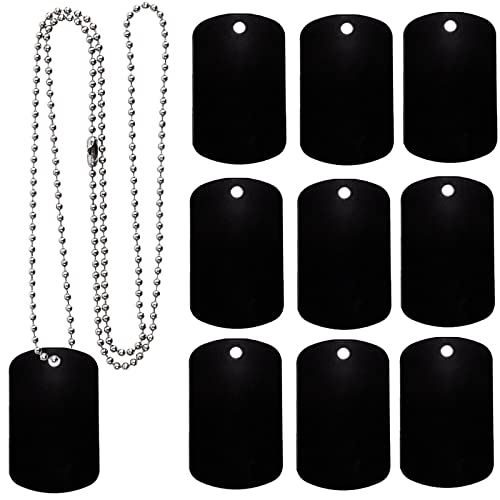
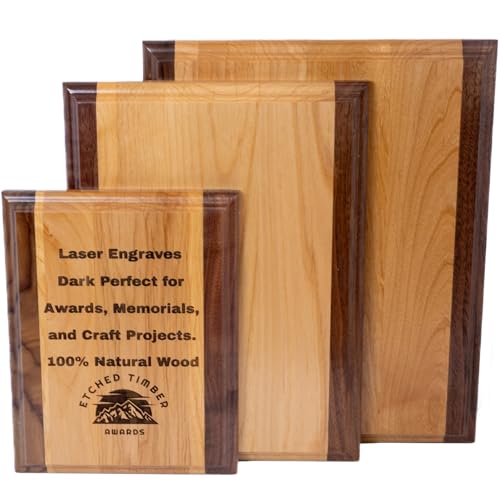
Our recommended blanks to laser engrave a photo:


Laser Engrave a Photo Settings
Adjusting your laser engraving settings is essential for achieving a high-quality engraving. Settings such as power, speed, and resolution need to be fine-tuned based on the material you’re engraving on and the quality of the photo.
Steps to Laser Engrave a Photo
Once you have all the necessary tools and materials, follow these steps to laser engrave your photo:
Step 1: Prepare the Photo
Start by editing your photo to enhance its quality for engraving. Here are some tips:
- Select a High-Quality Photo: Use a photo with at least 300 DPI for clarity and detail. Images with good contrast and a wide range of shading from light to dark work best. Avoid blurry or grainy images.
- Edit and Crop the Photo: Remove unnecessary elements to focus on the primary subject. Use photo editing software to increase the contrast and adjust brightness for better engraving results.
- Remove the Background: If the background isn’t needed, use tools like the Polygonal Lasso Tool in Photoshop or similar software. Replace the background with white to emphasize the main subject.
- Convert the Image to Grayscale: Navigate to Image > Mode > Grayscale in your photo editing software. This ensures the engraving focuses on shades of gray rather than colors.
- Resize the Image: Adjust the resolution to 200 pixels/cm (508 DPI) to maintain sharp details during engraving. Resize the dimensions to fit the material you’re engraving on.
- Sharpen the Image: Use sharpening filters to enhance edges and details. In Photoshop: Filter > Sharpen > Unsharp Mask. Suggested settings: Amount: 200%, Radius: 1 pixel, Threshold: 0 levels.
- Convert the Image to Bitmap: Go to Image > Mode > Bitmap. Use these settings: Output: 200 pixels/cm. Method: Halftone Screen. Frequency: 200 lines/cm. Angle: 15 degrees. Shape: Round.
Step 2: Create the Design File
After editing the photo, create the design file:
- Import the photo into your design software.
- If needed, convert it into a vector format (some programs allow you to trace a photo to create a vector outline).
- Ensure the design is appropriately sized for the engraving material.
Step 3: Set Up Your Laser Engraver
Prepare the laser engraver by:
- Setting up the material on the bed of the machine.
- Adjusting the focal length to ensure the laser focuses properly.
- Setting the correct laser power, speed, and resolution. Lower speeds and higher power typically work better for engraving photos, as you need enough depth for details but also precision.
- Perform a test run on a scrap piece of material to adjust settings before engraving the final photo.
Step 4: Start Engraving
Once everything is set up, load the design file into the laser engraver, select your engraving settings, and begin the engraving process. The laser will burn the photo’s details onto the material based on the design file.
Step 5: Finishing Touches
After the engraving is complete, carefully remove the material from the machine. Some materials might require cleaning to remove any residue left behind by the laser.
Use a soft cloth or cleaning solution suited for your material to wipe off excess smoke marks or dust.
Laser Engrave a Photo: Tips For Success
- Test and Adjust Settings: Every material behaves differently, and each photo has its own set of challenges. Always test your settings on a similar piece of material before engraving the final product.
- Use High-Contrast Images: Photos with good contrast between light and dark areas will yield the best results. The more defined the features in your image, the clearer the engraving will be.
- Choose the Right Material: Soft materials like wood and acrylic tend to engrave well, showing fine details and sharpness. Materials like glass and metal can also produce great results, but may require higher power settings.
- Don’t Rush the Process: Engraving detailed photos takes time. Be patient and allow the laser to do its job without trying to speed up the process.
Laser Engrave a Photo: Common Problems and How to Fix Them
- Faded or Light Engraving: This is often caused by low power settings or a material that doesn’t absorb the laser’s energy well. Try increasing the power or using a different material.
- Loss of Detail: If the engraving looks blurry or lacks detail, it may be due to incorrect resolution or speed settings. Experiment with slower speeds and higher resolution.
- Burn Marks or Scorching: Overheating the material can result in burn marks. Adjust the speed to ensure the laser isn’t on the material too long, and consider using a lower power setting. Apply masking tape to the surface to reduce smoke staining.
How to Laser Engrave a Photo On Wood With a Diode Laser (Using LightBurn)

Laser engraving a photo onto wood is a creative and rewarding way to preserve memories or create custom, personalized items.
If you own a diode laser and use LightBurn software, you’re in luck—this powerful combination allows for detailed, high-quality photo engravings with ease.
We’ll guide you through the entire process of laser engraving a photo on wood using a diode laser and LightBurn software.
What You’ll Need
Before you get started, gather the following materials and equipment:
Diode Laser Engraver
A diode laser is ideal for engraving wood, as it can produce fine detail while still being cost-effective. Diode lasers typically come with a power range between 5W and 40W, making them great for engraving photos. Popular diode laser engravers include brands like Ortur, Xtool and Sculpfun.
LightBurn Software
LightBurn is a comprehensive software used for controlling laser engravers, including diode lasers. It offers a user-friendly interface for both beginners and advanced users. You can design, import, and manipulate images to create the perfect engraving file.
Wood Material
Choose a suitable type of wood for engraving. Popular options include plywood, MDF, and hardwoods like maple or birch. Ensure that the wood is smooth and free of defects for the best engraving results.
A High-Quality Photo
For the best results, select a high-resolution photo with good contrast. Photos that are too dark or have low contrast may not engrave well, while high-contrast images create sharp, clear details.
Basic Laser Engraving Accessories
- Safety glasses: Protect your eyes from laser exposure.
- Tape or clamps: Secure your wood to the laser bed to prevent movement during engraving.
- Cleaning supplies: You may need a brush, cloth, or cleaning solution to remove any debris left behind.
Step-by-Step Guide to Laser Engrave a Photo on Wood
Follow these steps to laser engrave a photo onto wood using a diode laser and LightBurn software.
Step 1: Choose a Suitable Photo
- Resolution: Use a high-quality photo with a resolution of at least 300 DPI.
- Contrast: Choose a photo with clear distinctions between light and dark areas.
- Detail: Avoid overly complex backgrounds or blurred images.
Step 2: Prepare the Image in LightBurn
- Import the Photo:
- Open LightBurn and import the image file using the File → Import option.
- Convert to Grayscale:
- Go to Image Mode → Grayscale to focus on the shading details.
- Crop and Resize:
- Use the cropping tool to focus on the desired area.
- Resize the image to fit your project size (keeping the aspect ratio consistent).
- Adjust Brightness and Contrast:
- Use Adjust Image Settings to enhance brightness, contrast, and gamma levels. Aim for a balanced tonal range to highlight details.
Step 3: Set Up LightBurn Parameters
- Image Mode:
- Select Jarvis or Stucki dithering for smooth gradations and reduced banding.
- DPI Settings:
- Set the Line Interval to achieve a DPI between 300–600 (ideal for detailed engravings).
- Speed and Power:
- Start with a speed of 1500–3000 mm/min and power at 70–90%. Adjust based on your specific laser and wood type.
- Material Test:
- Use Laser Tools → Material Test to fine-tune settings for your wood.
Step 4: Prepare the Wood
- Sand the Surface:
- Sand the wood with fine-grit sandpaper (e.g., 220-grit) for a smooth surface.
- Clean the Surface:
- Wipe off dust and debris with a damp cloth.
- Optional: Masking Tape:
- Apply masking tape to the surface if you want to reduce smoke staining.
We recommend TapeManBlue Wide Painters Tape, which yields excellent results.
- SUPERIOR ADHESION & CLEAN REMOVAL: Our wide blue painters tape, perfect as 3D printer tape or laser masking tape, removes cleanly without residue, streaks, or stains for up to 21 days. Unlike other painting tape or masking tape that peels prematurely, TapeManBlue's extra wide painters tape stays put on your surfaces. Whether you're using it as 3D printing tape, for laser engraving, or general painting projects, our thick painters tape delivers reliable performance every time.
Step 5: Position the Laser
- Focus the Laser:
- Adjust the laser’s focus for a precise, sharp dot.
- Align the Image:
- Use LightBurn’s Preview and Frame tools to align the image with the desired engraving area on the wood.
Step 6: Perform a Test Run
To ensure the settings are correct, perform a test run on a small piece of scrap wood. This allows you to fine-tune the power, speed, and resolution before engraving your final photo.
- Check Results: Look at the test engraving to see if the details are clear and whether the contrast is appropriate.
- Adjust as Needed: If the engraving is too light or blurry, adjust the power and speed, or tweak the photo itself for better results.
Step 7: Start the Engraving Process
Once you’re satisfied with your settings and test run, it’s time to engrave the actual photo onto your wood:
- Send to Laser: In LightBurn, click “Start” to begin the engraving process. Monitor the laser to ensure everything is running smoothly.
- Supervise the Process: Always keep an eye on the engraving to avoid any issues like overheating, smoke buildup, or misalignment.
Step 8: Clean and Finish the Engraving
After the engraving is complete, carefully remove the wood from the laser bed. Depending on the wood type and the laser settings used, you may need to clean up the engraving:
- Wipe Away Residue: Use a soft cloth or brush to remove any soot or dust left by the laser.
- Optional Finish: Apply a protective finish such as a clear coat or wood stain to enhance the appearance of the engraving and protect the wood.
Final Thoughts
Laser engraving a photo is an amazing way to create lasting, custom pieces. With the right equipment, software, and technique, you can achieve professional-quality results. Whether you’re engraving photos onto wood for a rustic look or creating detailed glass etchings, the possibilities are endless.
Keep experimenting with different settings and materials to perfect your craft and make unique, personalized items that stand out.
By following the steps outlined here and paying attention to the details, you’ll be well on your way to mastering laser engraving and creating impressive photo engravings that will leave a lasting impression.
Frequently Asked Questions
What resolution is best for laser engraving a photo?
For best results, use a 300 DPI (dots per inch) image. High-resolution images ensure sharper details, smoother gradients, and better overall engraving quality. Low-resolution photos often appear blurry or pixelated when engraved.
Do I need to convert my photo to black and white before engraving?
Yes. Most laser engravers work best with grayscale images. Converting your photo to black and white (grayscale) allows the laser to interpret different shades properly and reproduce contrast more accurately.
Why does my engraved photo look too dark or too light?
This usually happens due to incorrect power and speed settings.
Too much power or slow speed → overly dark/burned image
Too little power or high speed → faint or washed-out engraving
Running a small test grid before engraving your final piece helps dial in the perfect settings.
Can a diode laser engrave photos as well as a CO₂ or fiber laser?
Yes, but with limitations. A diode laser works very well on wood and some coated materials. However, for engraving on glass, acrylic, or metal, a CO₂ or fiber laser will typically produce better and more consistent results.