Laser engraving continues to be one of the most popular ways to personalize everyday items, and wooden cutting boards are a perfect starting project for beginners and small business owners alike.
Table of Contents
In this guide, you’ll learn how to laser engrave cutting boards from start to finish—including design tips, safety precautions, materials, machine recommendations, and finishing steps to ensure long-lasting results.
Why Laser Engrave Cutting Boards?
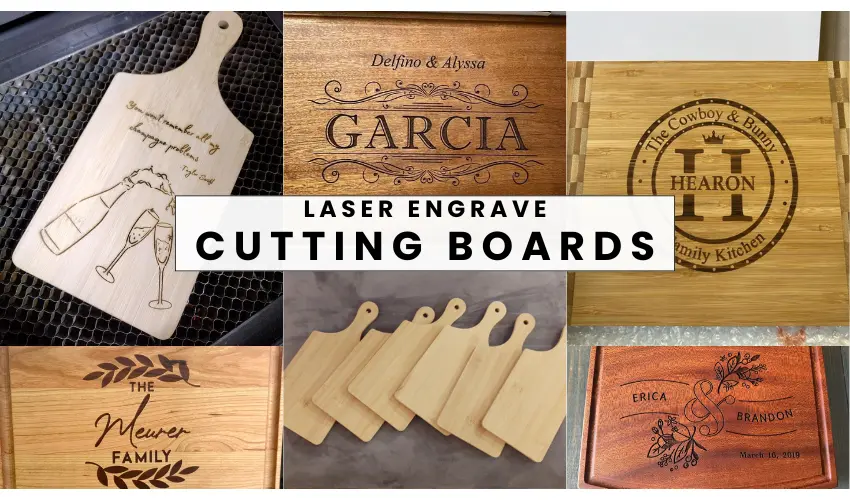
Custom cutting boards make thoughtful gifts for weddings, housewarmings, anniversaries, or even branded promotional items for businesses. With a laser engraver, you can etch monograms, recipes, logos, quotes, and intricate graphics onto wood with precision and speed.
Best Types of Wood for Laser Engraving Cutting Boards
Choosing the right type of wood is crucial for a clean engraving. Here are some of the best options:
- Maple: Light color, durable, and engraves beautifully.
- Beech: Dense and light-colored, ideal for detailed designs.
- Bamboo: Affordable and eco-friendly but has variable hardness.
- Walnut: Dark wood with a rich appearance, but the contrast is less visible.
- Cherry: Smooth and uniform grain; engraves with a warm tone.
Avoid woods treated with harsh chemicals or coatings, especially for boards that will be used with food.
Best Laser Engravable Cutting Boards
1. Lounsweer 6 Pcs Bamboo Engravable Cutting Boards
The Lounsweer 6 Pcs Bamboo Cutting Board Set offers excellent value and quality for laser engraving enthusiasts. Each 11″ x 5″ board features a sturdy, rectangular design with a convenient handle hole, making them ideal for both kitchen use and custom engraving projects. The smooth bamboo surface engraves cleanly and consistently, making them perfect for personalized gifts.
These boards are reliable, reusable, and easy to clean (just avoid soaking or dishwashers), and the compact size is great for serving or charcuterie. Whether you’re making gifts for Mother’s Day, weddings, or housewarmings, this bulk set is a budget-friendly and high-quality option for crafters and small business owners.
2. Nuenen 10 Pcs Acacia Engravable Round Wood Cutting Boards
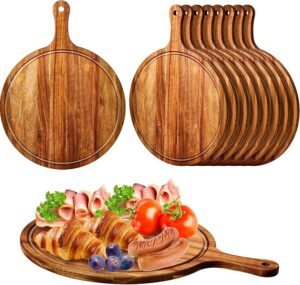
The Nuenen 10 Pcs Round Acacia Cutting Board Set is a top choice for laser engraving, offering rich, durable wood and a versatile design. Each board measures approximately 15.4″ x 11.4″ and features a smooth, rounded shape with a built-in handle for easy carrying or hanging.
Made from high-quality acacia wood, these boards engrave beautifully, making them ideal for personalized gifts, custom charcuterie boards, or small business products. They’re multifunctional—great for pizza, bread, cheese, or everyday chopping—and the generous 10-pack is perfect for bulk projects, events, or holiday crafting. A must-have for laser crafters looking for natural elegance and reliable performance.
3. Invisoncorp 12 pcs Bamboo Engravable Cutting Boards

The Invisioncorp Bulk Bamboo Cutting Boards Set is an ideal starter pack for laser crafters and small businesses. Featuring 12 lightweight 12×9″ boards—6 with handles and 6 without—this affordable bundle offers great variety and creative flexibility.
Made from high-quality, durable bamboo, these boards are perfect for laser engraving, pyrography, vinyl applications, or custom wall art. Their smooth surface and moisture resistance ensure crisp engraving results, while their eco-friendly, knife-safe design adds functional value.
Whether you’re testing designs, creating gifts, or building your engraving business, this bulk set delivers excellent quality at a cost-effective price.
Recommended Laser Engraving Machines for Cutting Boards
You don’t need an industrial machine to engrave a cutting board. Some top options include:
Laser Engraver | Type | Power | Best For |
|---|---|---|---|
xTool M1 / M1 Ultra / S1 | Diode Laser | 10W / 20W / 40W | Home users, crafters |
xTool P2 | CO2 Laser | 55W | Professionals, batch production |
Glowforge Plus/Pro | CO2 Laser | 40W / 45W | Clean interface, great for small studios |
OMTech 50W+ Machines | CO2 Laser | 50W–80W | Advanced users needing faster workflows |
For food-safe projects, always use air assist and ventilation tools to minimize residue buildup and odors.
Step-by-Step: How to Laser Engrave Cutting Boards
1. Choose or Design Your Artwork
Use a program like:
- xTool Creative Space
- LightBurn
- Canva or Adobe Illustrator (export as SVG or PNG)
Keep designs simple for best visibility on wood: monograms, handwritten recipes, or simple illustrations work best.
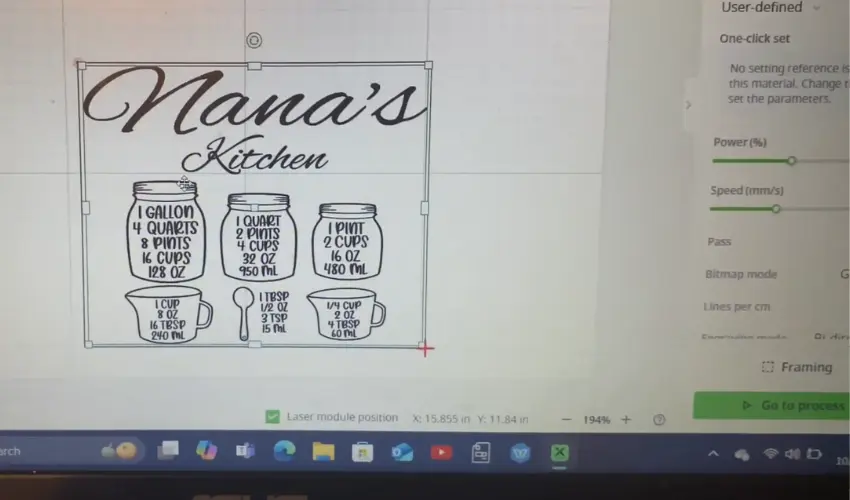
Upload and Size Your Design in xTool Creative Space (XCS)
- Open xTool Creative Space
- Turn on your laser
- Click Image, import your design
- Select all elements > Set to Engrave
- Resize to fit your board
- For thick materials, set mode to Open Plane
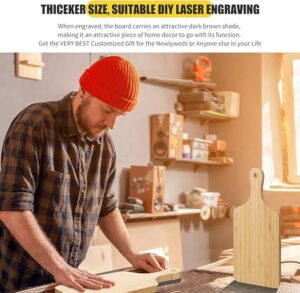
2. Prepare Your Cutting Board and Laser Engraver
- Clean the board with a dry cloth to remove dust or oils.
- Avoid boards with finishes or coatings unless you plan to sand them.
- Clamp or secure the board to prevent movement.
Using The xTool M1 or M1 Ultra?
Adjust Your Laser Height with a Riser System
Depending on the thickness of your cutting board, you’ll need to elevate your laser or lower the material:
Option 1: Wooden Risers
Use the four wooden risers from the xTool Household Kit to lift your M1. Remove the baseplate before placing the cutting board.
Option 2: Riser Base + Honeycomb Panel (Recommended)
Keeps your workspace enclosed and better vented. Adjust your honeycomb panel to the correct slot (A, B, or C). Add scrap wood under your cutting board if needed to bring it within measurement range.
Tip: Keep your cutting surface as close as possible to the height of the original baseplate for optimal auto-focus.
3. Adjust Your Laser Settings
Common diode laser engraving settings (e.g. xTool M1):
- Power: 50–100%
- Speed: 50–100 mm/s
- Passes: 1
- Lines per cm: 200
These will vary based on your board thickness and machine wattage. Run a test grid first!
If using xTool Creative Space, click Framing to preview placement on the board
Adjust if needed, then click Process
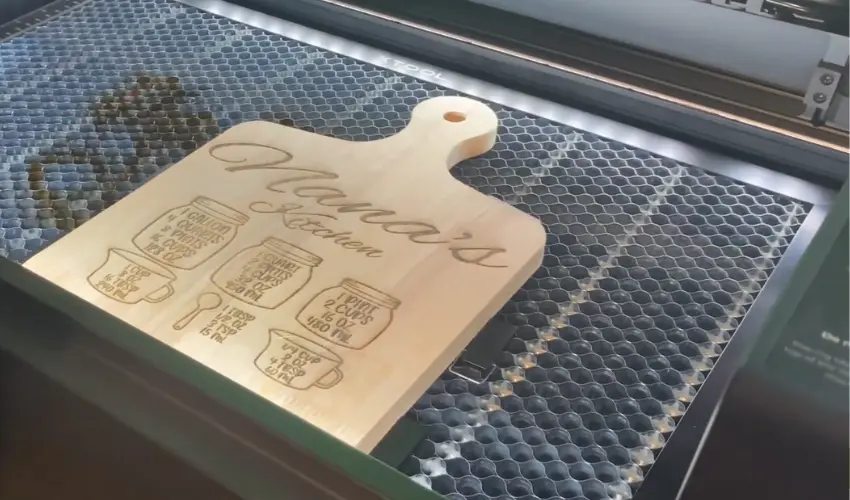
4. Engrave the Cutting Board
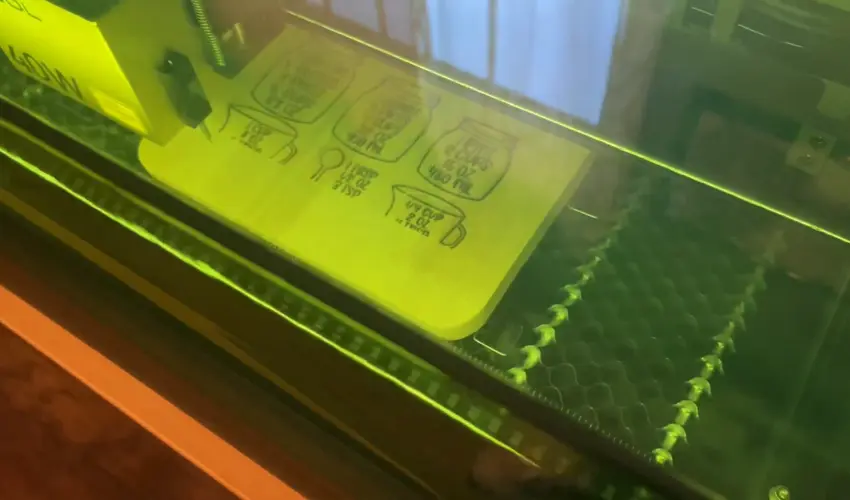
- Wear safety glasses if your machine doesn’t have an enclosure.
- Turn on air assist and ensure proper ventilation.
- Start the job and monitor the machine until complete.
5. Finishing Your Engraved Board
After engraving:
- Lightly sand the engraved area (150–220 grit) to smooth charred edges.
- Wipe clean with a lint-free cloth.
- Apply 2–3 coats of food-safe mineral oil or cutting board conditioner. We recommend using Howard Products Butcher Block Conditioner on Amazon.
- Let cure fully before use.
Safety Tips
- Always vent fumes outdoors or use a smoke purifier.
- Never leave your machine unattended.
- Avoid engraving on boards that are chemically treated or sealed with unknown finishes.
- Only use food-safe finishes post-engraving.
Laser Engrave Cutting Boards Bonus Tips for Better Results
- Use Light Woods: Beech, maple, and bamboo offer the best contrast
- Auto-measure Issues with the xTool M1 or M1 Ultra? Prop up the board or adjust the riser slot
- Clean with Care: After engraving, lightly sand the board and apply food-safe cutting board oil
- Engraving with xTool P2? It’s even faster using a CO₂ laser.
Creative Ideas for Custom Cutting Boards
- Handwritten recipes turned into engravings
- Couple’s names with a wedding date
- Funny food quotes or monograms
- QR codes linking to a recipe or personal video
Frequently Asked Questions
What type of cutting boards are best for laser engraving?
The best cutting boards for laser engraving are made of light-colored hardwoods like beech, maple, bamboo, cherry, or walnut. Bamboo is especially popular due to its affordability, durability, and smooth surface. Avoid boards with heavy grain, oil coatings, or plastic finishes, as they can affect engraving clarity and safety.
Can you laser engrave a cutting board used for food preparation?
Yes, you can laser engrave cutting boards used for food prep—but only if safe, untreated wood is used. After engraving, sand the surface to remove charred residue and finish it with food-safe mineral oil or cutting board conditioner. Avoid painting or sealing the engraved area with non-food-safe materials.
What are the ideal laser settings for engraving a cutting board?
Settings vary by laser type and wood hardness, but a good starting point for diode lasers like the xTool M1 is:
Power: 50–100%
Speed: 50–150 mm/s
Passes: 1
Always run a test grid on a scrap piece to dial in the best combination for depth and clarity without burning.
Do I need to prepare the cutting board before engraving?
Yes. Make sure the board is clean, dry, and free of oils or finishes. Lightly sand the surface to ensure it’s smooth and even. If you’re using a softwood or uneven surface, masking tape can be applied to minimize scorching, but it’s usually unnecessary for hardwoods.
How do I maintain a laser-engraved cutting board?
After engraving and sanding, apply food-grade mineral oil to protect the wood and bring out contrast in the design. Reapply oil regularly (every few weeks, depending on use). Avoid soaking the board in water or placing it in the dishwasher—this can cause warping or damage to the engraved detail.
Final Thoughts
Engraving cutting boards is a fun and rewarding project, whether you’re a beginner testing your laser for the first time or a seasoned crafter selling custom gifts. With the right tools, materials, and a bit of creativity, you can produce meaningful, lasting pieces that people will treasure for years.