A clean laser engraver lens is the difference between sharp, consistent results and frustrating, uneven cuts.
If your laser suddenly feels weaker or your edges look burnt, there’s a good chance your lens needs attention.
Table of Contents
This guide walks you through how to clean your laser engraver lens safely, what to use, and how to prevent buildup in the first place.
Why Laser Engraver Lens Cleaning Matters
Your laser lens focuses the beam onto your material. When it gets dirty, that beam scatters and loses power.
What happens with a dirty lens:
- Reduced cutting power
- Burnt or rough edges
- Longer job times
- Risk of permanent lens damage
Even a thin layer of smoke residue can block a significant amount of energy.
Signs Your Laser Lens Needs Cleaning
Watch for these warning signs:
- Cuts not going all the way through
- Engraving looks faded or inconsistent
- Increased charring on edges
- Visible haze, dust, or spots on the lens
If you notice any of these, it’s time to clean.
Laser Engraver Lens Cleaning: What You’ll Need
Keep it simple and safe. Using the wrong materials can scratch or ruin your lens.
Recommended supplies:
- 99% isopropyl alcohol
- Lint-free cloth or optical wipes
- Cleaning swabs (high quality, low lint)
- Soft light source (flashlight or phone)
Avoid these:
- Paper towels or tissues
- Household cleaners (especially ammonia-based)
- Rough fabrics
- Touching the lens with your fingers
Step-by-Step: How to Clean Your Laser Engraver Lens

1. Power Down and Cool
Turn off your machine completely and wait 10–15 minutes.
Cleaning a hot lens can cause cracking.
2. Access the Lens
Open the laser head or housing.
If needed, remove the lens carefully. Take a quick photo so you remember the orientation.
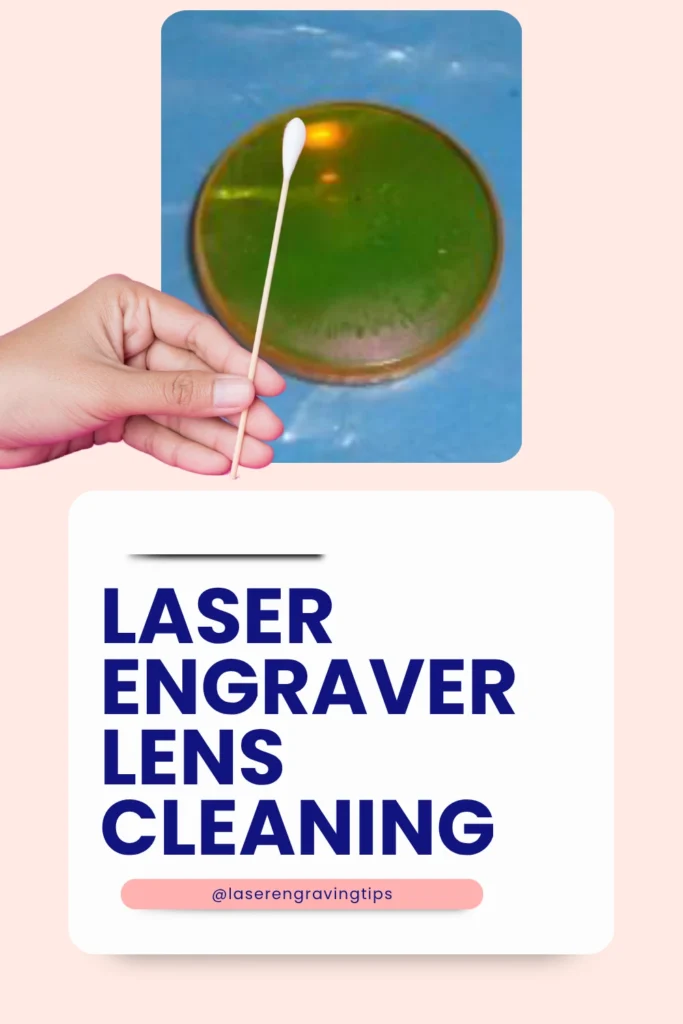
3. Inspect the Lens
Hold it under light and look for:
- Dust
- Smudges
- Smoke residue
- Burnt spots
This helps you decide how much cleaning is needed.
4. Start with Dry Cleaning
Use lint-free cleaning swabs or a cloth to remove loose dust.
- Wipe gently from the center outward
- Don’t press hard
Sometimes this step alone is enough. We recommend using Wellgler’s Lint-Free Cleaning Swabs.

- 👉FOAM TIP CLEANING SWABS--KM740 Foam tip width 0.23", foam tip thickness 0.18," foam tip length 0.75" ,Swab measures 6.42″ long
5. Clean with Alcohol or an Optic Cleaning Solution
Dampen (not soak) a cloth or cleaning swab with 99% isopropyl alcohol or an optic cleaning solution.
- Wipe in small circular motions
- Start from the center and move outward
- Use light pressure
Repeat with a clean section if needed. We recommend using Cleanaroo Isopropyl Alcohol 99.9% or Eclipse Optic Cleaning Solution with Wellgler’s Lint-Free Cleaning Swabs for excellent results.


6. Let It Dry
Allow the lens to air dry completely.
Alcohol evaporates quickly, usually within a few minutes.
7. Final Check
Hold the lens up to light again.
Make sure there are no streaks, spots, or haze left.
8. Reinstall the Lens
Place it back exactly as it was.
- Handle by the edges
- Don’t overtighten
How Often Should You Clean Your Lens?
It depends on how often and what you cut.
General guideline:
- Light use: every 10–15 hours
- Frequent use: once a week
- Heavy or smoky materials: check after every session
Pro Tips to Keep Your Lens Cleaner Longer

Keeping your laser lens clean isn’t just about maintenance—it directly affects cut quality, speed, and machine lifespan. A few small habits can make a big difference.
1. Use air assist every time
Air assist helps blow smoke and debris away from the lens while cutting. Without it, residue rises and settles right onto the optics. Even a small air pump can reduce buildup significantly.
2. Improve your ventilation setup
Strong exhaust airflow pulls fumes out of the machine before they can circulate. If smoke lingers inside your enclosure, it will eventually coat your lens.
3. Clean your materials before cutting
Dust, oils, and dirt on materials turn into airborne residue during engraving. A quick wipe with a dry cloth (or alcohol for greasy surfaces) reduces contamination at the source.
4. Avoid resin-heavy or oily materials
Some woods (like pine) and certain plastics produce more smoke and sticky residue. If you use them often, expect faster lens buildup and plan more frequent checks.
5. Check your lens regularly (don’t wait for problems)
A quick visual inspection takes seconds. Catching light haze early prevents heavy buildup that’s harder to clean later.
6. Keep your workspace dust-free
Fine dust in your workshop can settle inside your machine, even when it’s not running. Regular cleaning around your setup helps protect internal components.
7. Use proper focus and settings
Incorrect focus or overly slow speeds can increase burning and smoke production. Dialing in clean, efficient settings reduces how much debris is created in the first place.
8. Close the lid during operation
An open machine allows more outside dust and airflow turbulence, which can carry debris toward the lens.
9. Store your machine covered when not in use
If your engraver sits idle, cover it to prevent dust buildup on internal parts, including the lens assembly.
10. Don’t skip routine cleaning
Even with perfect habits, some buildup is unavoidable. A quick, regular clean is far easier than dealing with a heavily contaminated lens later.
Small preventive steps like these can cut your cleaning time in half—and keep your laser performing like new.
Common Mistakes to Avoid
- Using paper towels (they scratch the lens)
- Applying too much liquid
- Cleaning while the lens is hot
- Skipping regular maintenance
- Using low-grade alcohol (like 70%)
When to Replace Your Laser Engraver Lens
Cleaning won’t fix everything. Replace your lens if you see:
- Deep scratches
- Cracks
- Permanent burn marks
- Peeling or damaged coating
A damaged lens will never perform properly, no matter how clean it is.

- Material: High Quality CVD Znse,compatible power: 40W-200W
Cloudray focusing lenses are our favorites because they deliver consistent, high-quality beam focus, resulting in cleaner cuts and sharper engraving. They’re made with durable materials, resist heat and residue buildup, and are available in multiple focal lengths to suit different jobs.
Reliable performance, long lifespan, and good value make them an excellent option for most laser engravers. Make sure your laser head accepts the lens diameter before purchasing.
Final Thoughts
Cleaning your laser engraver lens is one of the simplest ways to improve performance. It takes just a few minutes but can save you from poor results and costly repairs.
Make it part of your regular routine. A clean lens means sharper detail, faster cuts, and a machine that lasts longer.
Frequently Asked Questions
How often should I clean my laser lens?
It depends on how often you use your machine and the materials you cut. For light use, every 10–15 hours is typical. If you work with smoky materials like wood or leather, check it more often—sometimes after every few jobs.
What’s the safest way to clean a laser lens?
Use a lint-free cloth or optical swab with high-purity isopropyl alcohol (preferably 90–99%). Wipe gently from the center outward. Avoid pressure and never use rough materials like paper towels.
Can a dirty laser lens really affect performance?
Yes. Even a thin layer of residue can reduce laser power, leading to weak cuts, burn marks, and longer processing times. In severe cases, buildup can overheat and damage the lens.
Can I clean the laser lens without removing it?
In some machines, yes—but it’s not always ideal. Removing the lens allows for a more thorough clean on both sides. Just handle it carefully and note its original position before taking it out.
What should I never use to clean a laser lens?
Avoid water, household cleaners, tissues, or compressed air with moisture. These can leave residue, scratch the surface, or damage the lens coating. Stick to proper optical cleaning materials only.