Laser engraving looks simple from the outside. Load a design, press start, and watch the machine do the work. In reality, it takes time to understand how materials, settings, airflow, software, and positioning all work together.
Table of Contents
These are the most important lessons that separate frustrating early results from clean, consistent, and sellable work. Whether you use a diode laser, CO2 machine, or a fiber setup, these principles will save you time and wasted material.
Lesson 1: A laser is not a printer
The biggest mindset shift is realizing a laser is not a “print and forget” device. It behaves more like a precision cutting tool. You are shaping material with heat and motion control, not simply printing ink on paper.
Once you accept that, learning becomes easier. You stop expecting instant results and start focusing on settings, test cuts, and material behavior.
Lesson 2: Ventilation matters from day one
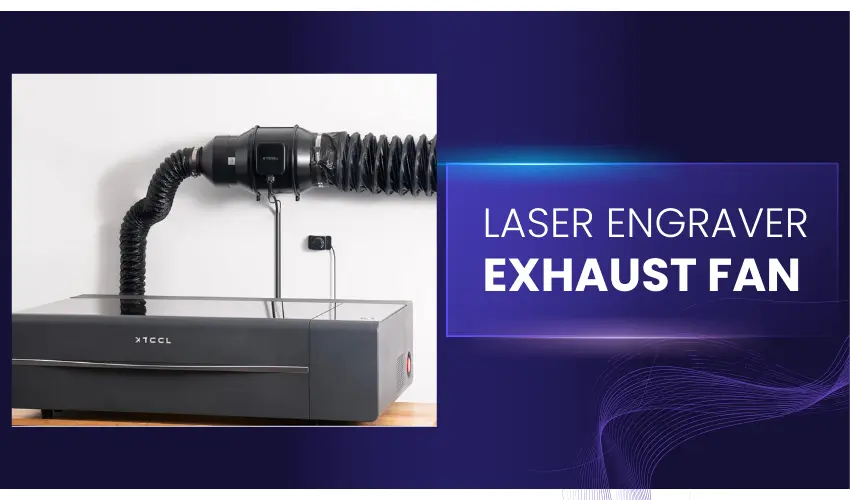
Smoke is not just annoying. It affects cut quality, visibility, and long-term health. Many beginners underestimate how much fumes a laser produces, especially during cutting.
A strong exhaust system is not optional. It should be planned early, not added after your workspace already smells like burnt material.
Lesson 3: Air assist makes or breaks cut quality
Clean cuts depend heavily on airflow at the laser point. Without proper air assist, edges can burn, darken, or become inconsistent.
External air assist systems often outperform built-in pumps. Machines that support external upgrades tend to deliver better long-term results.
Lesson 4: More power is not always better
Higher wattage sounds attractive, but it is not always necessary. Lower watt lasers can produce finer detail due to smaller spot sizes.
If you are just starting, it is often smarter to choose moderate power and focus on learning material behavior before upgrading.
Lesson 5: Start simple instead of skipping steps
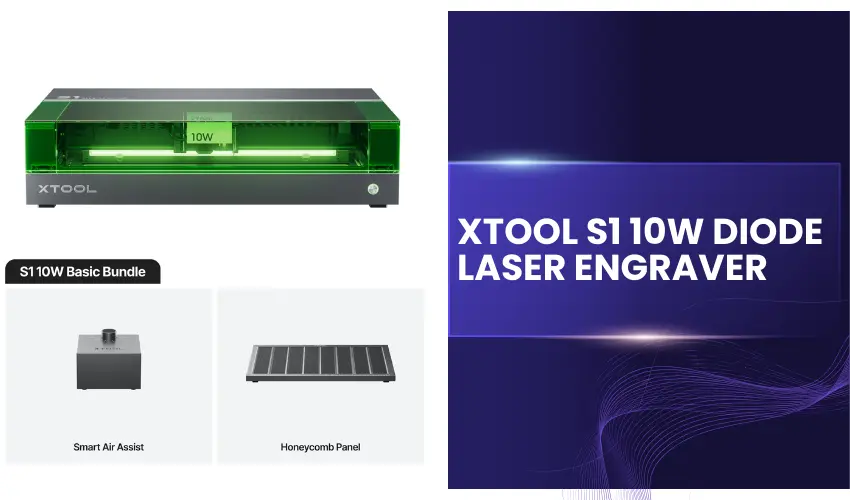
Beginner-friendly diode lasers remain one of the best entry points. They are affordable, widely supported, and capable of impressive results.
Jumping too quickly into complex systems can slow learning rather than accelerate it.
Lesson 6: Test grids are essential
Test grids are not optional. They are how you understand speed, power, and material response.
Once you learn how to read them, every new material becomes easier to work with. They remove guesswork and prevent wasted sheets.
Lesson 7: Laser type matters in tutorials
Not all tutorials apply to your machine. CO2, diode, and fiber lasers behave differently on materials like glass, metal, and acrylic.
Before following a guide, always check what type of laser it was created for. This avoids confusion and failed results.
Lesson 8: Positioning is a core skill
Alignment is one of the most overlooked skills in laser work. Knowing exactly where your design will land on material is critical.
Once you understand coordinates, origin points, and camera positioning (if available), your results become far more consistent.
Lesson 9: You do not always need the laser
A laser is powerful, but it is not always the best tool for every step. Simple tools like cutters, drills, or sanders can sometimes be faster and more practical.
Good workflow is about using the right tool for each job, not forcing the laser into everything.
Lesson 10: Material sourcing can be the hardest part

Finding the right blank material often takes longer than the engraving itself. Dimensions, coatings, and surface quality all matter.
Sometimes success depends more on sourcing than on machine settings.
Lesson 11: One software is enough to start
Many beginners think they need advanced design software. In reality, most laser workflows can be handled inside a single program.
The key is learning your chosen software deeply rather than switching tools constantly.
Lesson 12: Learn documentation early
Software documentation is often faster than YouTube when solving specific problems. Many tools include instant help features that explain functions clearly.
Knowing how to access documentation saves hours of trial and error.
Lesson 13: Electricity is not your biggest cost
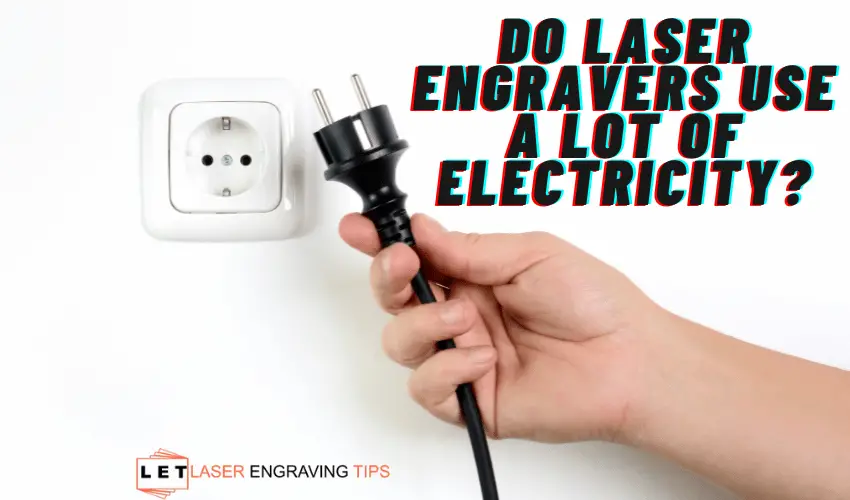
Laser machines use surprisingly little electricity. The real costs come from consumables like lenses, mirrors, and replacement parts.
Understanding this helps you budget more realistically.
Lesson 14: Product success depends on demand
A well-made design does not guarantee sales. If nobody is searching for it, it will not sell.
The best results come from combining creativity with proven market demand.
Lesson 15: Original designs outperform downloaded files
Pre-made laser files can be useful for learning, but they limit creativity and uniqueness.
Original designs help you stand out, improve faster, and build stronger products if you plan to sell.
Final Thoughts
Laser engraving is a skill that develops over time. The learning curve can feel steep at first, but most problems come down to a few core areas: airflow, material understanding, positioning, and software control.
Once those fundamentals click, you move from trial-and-error to predictable results. And that is when laser engraving becomes genuinely enjoyable and profitable.