Laser engraving is a popular technique for creating intricate designs on various materials, but can you laser engrave a mirror?
The short answer is yes! However, it requires specific techniques and considerations to achieve the best results while avoiding damage to the mirror or laser equipment.
Table of Contents
In this blog post, I will discuss the process of laser engraving mirrors and some of the things you need to consider before getting started. I will also provide tips for getting the best results when laser engraving mirrors.
Understanding the Process To Laser Engrave A Mirror
When engraving a mirror, the laser typically removes the reflective backing instead of etching directly into the glass. This creates a frosted effect that stands out when the mirror is placed against a contrasting background or backlit for a stunning effect.
When it comes to laser engraving mirrors, two of the most common laser types are CO₂ laser engravers and Diode lasers. Each has its advantages and considerations, especially regarding preparation and processing.
Best Laser Types To Laser Engrave A Mirror
CO₂ Laser Engravers
CO₂ lasers are the best choice for engraving mirrors due to their higher power and wavelength (10.6 µm), which is well-absorbed by glass surfaces. They can efficiently remove the reflective backing on mirrors without requiring additional preparation. A CO₂ laser can engrave directly onto the mirror’s surface or etch the backing for a frosted effect.
Diode Lasers
Diode lasers (with wavelengths around 450 nm) can engrave mirrors but require additional preparation since glass surfaces partially reflect their beam. To achieve a successful engraving, users should:
- Engrave from the back: Remove the mirror from its frame and engrave the coated side to expose clear glass.
- Use a backing material: Place black paper or another dark material under the mirror to absorb excess laser energy and reduce flashback damage.
- Adjust power and speed settings: Running test engravings helps find the right combination for effective material removal.
While CO₂ lasers provide faster and more consistent results, diode lasers can still be used with the right preparation steps. Choosing the best laser depends on the desired effect, budget, and available equipment.
Safety Precautions Before Laser Engraving a Mirror
Before you begin laser engraving a mirror, there are a few safety precautions you need to take.
Ensure Proper Ventilation
When engraving any material, it is important to have proper ventilation. This is especially true when engraving mirrors, as the laser can create a lot of smoke and fumes.
To ensure proper ventilation, you should engrave your mirror in a well-ventilated area. You may also want to consider using a good quality exhaust fan or fume extractor to help remove any smoke and fumes generated by the laser.
Wear Personal Protective Equipment
When engraving any material, you should always wear personal protective equipment (PPE). This includes safety glasses or goggles to protect your eyes from the laser, gloves, and a respirator to protect your skin and lungs from smoke and fumes.
Follow the manufacturer’s safety precautions for your specific laser engraver.
Secure Your Mirror Properly
Before beginning the engraving process, you need to secure your mirror properly. This will help prevent the mirror from breaking during the engraving process.
There are a few different ways you can secure your mirror:
- You can use clamps to secure the mirror to a work surface.
- You can tape the edges of the mirror to a work surface.
- You can place the mirror in a frame or other holding device.
Choose the method that works best for your specific setup.
Prepare Your Mirror for Laser Engraving
Once you have taken the necessary safety precautions and secured your mirror, you are ready to prepare it for engraving.
Clean the Mirror
You first need to clean your mirror to remove any dirt, dust, or other contaminants. This will help ensure that the engraving is clean and precise.
You can use a soft cloth and a glass cleaner to clean your mirror. Be sure to follow the manufacturer’s instructions for your specific glass cleaner. Windex works great and is our recommendation.

- What You'll Get: One 23 oz spray bottles of Windex Original Blue Glass and Window Cleaner
Mask the Mirror
After cleaning your mirror, you need to mask it to protect the areas you do not want to be engraved. This is important because the laser will engrave anything in its path, including your fingers, if they are in the way.
You can use painter’s tape or other types of masking tape to mask your mirror. Be sure to apply the tape carefully, so you do not accidentally engrave your mirror. TapeManBlue Wide Painters tape is our recommendation.
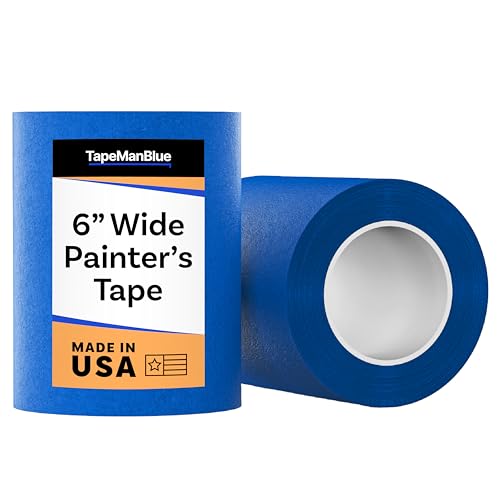
- SUPERIOR ADHESION & CLEAN REMOVAL: Our wide blue painters tape, perfect as 3D printer tape or laser masking tape, removes cleanly without residue, streaks, or stains for up to 21 days. Unlike other painting tape or masking tape that peels prematurely, TapeManBlue's extra wide painters tape stays put on your surfaces. Whether you're using it as 3D printing tape, for laser engraving, or general painting projects, our thick painters tape delivers reliable performance every time.
Once your mirror is masked, you are ready to begin engraving.
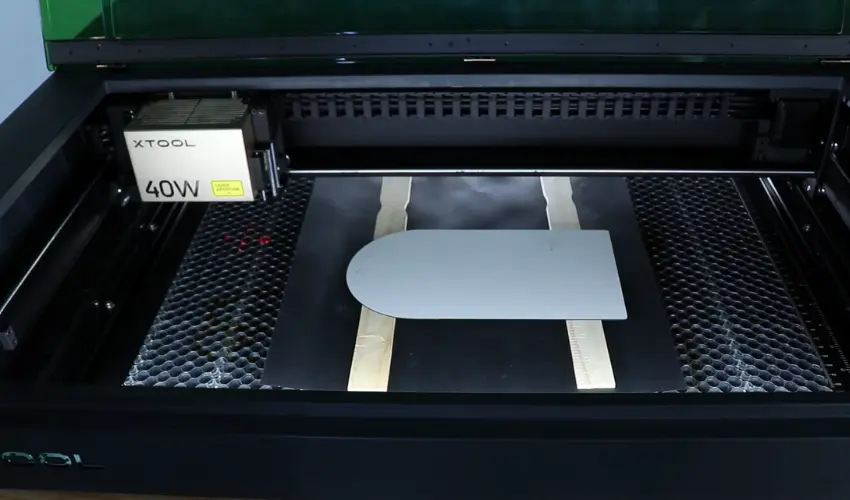
How To Laser Engrave a Mirror With a CO₂ Laser Engraver
Now that your mirror is prepared, here is a step-by-step guide on how to actually engrave it:
Set Up Your Engraver
Many laser engravers come with software that you can use to control the engraving process. Before you begin, it is important to set up your engraver according to the manufacturer’s instructions.
This includes connecting your engraver to a power source and your computer (if applicable). You will also need to load your mirror into the engraver.
Prepare Your Design
Once your engraver is set up, you need to prepare your design. If you are using a computer-controlled engraver, you will need to create your design in a vector graphic software program like Adobe Illustrator.
Engraving a mirror with a CO₂ laser requires proper design preparation to achieve a clear, high-quality result. Here’s a step-by-step guide to ensure success:
Choose the Right Image or Design
- Use high-contrast vector graphics (SVG, AI, DXF) for the best engraving results.
- If engraving a photo, convert it to grayscale and adjust contrast for better clarity.
- Avoid very fine details, as they may not engrave well on the reflective surface.
Mirror the Design (If Engraving from the Back)
- If engraving the back of the mirror (to remove the reflective coating), flip the design horizontally in your design software.
- This ensures the final image appears correctly when viewed from the front.
Set the Correct Engraving Mode
- Raster Engraving: Best for images, text, and detailed designs.
- Vector Engraving (Scoring): Used for fine outlines or delicate patterns.
Adjust Power and Speed Settings
- CO₂ lasers typically require moderate power and speed to remove the mirror’s backing without damaging the glass.
- Run a test engraving on a scrap mirror piece to find the optimal settings.
Recommended Laser Settings to get you started:
- Power: 15-30%
- Speed: 300-500 mm/s
- Passes: 1 (sometimes 2 for deeper engravings)
By properly preparing your design and settings, you can achieve clean and professional mirror engravings with your CO₂ laser. Once your design is completed, you are ready to start engraving.
Place Your Mirror in the Engraving Area
Before you begin engraving, you need to place your mirror in the engraving area. This is the area of the engraver where the laser beam will actually hit your mirror.
You will need to position your mirror, so the design is centered in the engraving area. You may also need to adjust the focus of the laser beam.
Laser Engrave a Mirror
Once your mirror is in the engraving area, you are ready to start engraving. To begin engraving, you will need to press the start button on your engraver. The laser beam will then begin moving across your mirror, engraving your design into the surface.
Be sure to keep your hand away from the engraving area, so you do not accidentally get burned by the laser beam.
Once the engraving is complete, you can remove your mirror from the engraving area.
Clean Up Your Mirror
After engraving your mirror, you will need to clean up any residual glass dust. This is important because glass dust can be dangerous if inhaled.
You can use a small wire brush to remove the glass shards and then a vacuum cleaner with a HEPA filter to clean up your mirror. You can also use a damp cloth to wipe down the mirror.
Finishing Touches: You can leave the design as is or add paint to enhance contrast. You can now enjoy your beautiful, engraved mirror.
Re-engrave
If you are unsatisfied with the results the first time you engrave your mirror, you can always re-engrave it.
To re-engrave your mirror, you will need to follow the same steps as before. However, you may need to adjust your design or the focus of the laser beam to get the desired results. With a little practice, you can create beautiful, engraved mirrors perfect for any occasion.
Inspect Your Mirror
After engraving your mirror, it is important to inspect it for any defects. This includes cracks, chips, or other damage.
If you notice any defects in your mirror, you will need to fix them before using the mirror. You can use a glass repair kit to fix any minor damage. For more serious damage, you may need to replace your mirror.
How To Laser Engrave a Mirror With a Diode Laser Engraver
Engraving a mirror with a diode laser requires additional preparation since diode lasers struggle to engrave directly on reflective surfaces.
Below is a step-by-step guide to help you achieve the best results.
Choose the Right Mirror
- Use a standard glass mirror with a reflective coating on the back.
- Avoid mirrors with special coatings that may not engrave well.
- Always have an extra mirror for testing settings before engraving your final design.
Decide on Engraving Side
- Backside Engraving (Recommended): Removes the reflective coating while leaving the glass intact, creating a transparent design.
- Frontside Engraving: More difficult since reflections can interfere with the laser, and it may result in uneven engraving.
Prepare the Mirror for Engraving
- Remove the Frame (if applicable): Take out screws or clips holding the mirror in place.
- Raise the Mirror: Place small supports (wood shims, paint sticks) under the mirror to prevent direct contact with the work surface, reducing laser flashback.
- Use a Black Backing: Place a black sheet of paper or cardstock underneath to absorb excess laser energy and prevent unwanted reflections.
Our recommended black cardstock is listed below.
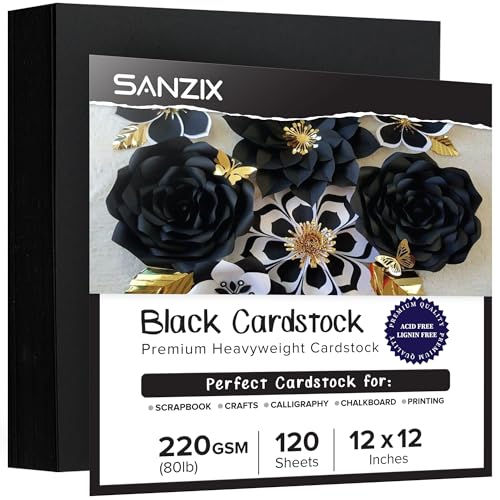
- 💎 【Heavyweight & Durable】 This 120 sheets black card stock 12 x 12 inches is crafted with 80 lbs (220 GSM) paper, offering a robust and thick material ideal for crafting, ensuring durability for all your projects.
Prepare Your Design
- Mirror the Image: If engraving the back, flip your design horizontally to ensure the final engraving appears correctly when viewed from the front.
- Use High-Contrast Designs: Solid graphics and text work best. Avoid grayscale images unless you have experience adjusting laser settings for depth.
Laser Settings and Test Engraving
Diode lasers require higher power and slower speeds compared to CO₂ lasers.
- Recommended Starting Settings (Adjust as Needed):
- Power: 60-80%
- Speed: 200-500 mm/min
- Passes: 1-2
Always run a test engraving on a scrap mirror to fine-tune settings before engraving the final piece.
Engraving Process
- Secure the Mirror: Make sure it doesn’t move during engraving.
- Focus the Laser: Proper focusing is crucial for clean engraving. Adjust the laser to the correct focal height.
- Engrave in a Well-Ventilated Area: The reflective coating may release fumes, so use proper ventilation or an exhaust system.
7. Cleaning and Finishing
- Wipe off residue with isopropyl alcohol or a damp cloth.
- If engraving the back side, you can add paint or vinyl backing to enhance contrast.
- Reassemble the mirror if it had a frame.
By following these steps, you can successfully laser engrave a mirror using a diode laser and create stunning, professional-looking designs!
Common Problems with Laser Engraving Mirrors and How to Prevent Them
Laser engraving a mirror can produce stunning results, but several challenges may arise. Here are common issues and how to prevent them:
Inconsistent Engraving Depth
- Cause: Uneven power settings or improper focus.
- Solution: Run test engravings to find optimal settings and ensure correct focal distance.
Chipping or Cracking
- Cause: High power settings or engraving too deeply.
- Solution: Reduce power, increase speed, and use multiple light passes instead of a single deep one.
Overheating and Glass Damage
- Cause: Extended exposure to the laser beam.
- Solution: Use proper cooling techniques, such as a damp paper towel over the engraving area.
Flashback Marks on the Front Side
- Cause: Laser beam reflecting back from the honeycomb bed or base surface.
- Solution: Place a soft material like black paper beneath the mirror to absorb reflections.
Design Misalignment
- Cause: Improper positioning of the mirror in the laser bed.
- Solution: Use alignment tools in your laser software and secure the mirror firmly in place.
Image Reversed on Final Engraving
- Cause: Forgetting to mirror the design before engraving.
- Solution: Always flip the image horizontally in your software before engraving the back of the mirror.
By addressing these common problems, you can achieve clean, professional mirror engravings with a laser engraver.
Enhancing Your Mirror Engraving with Color Filling
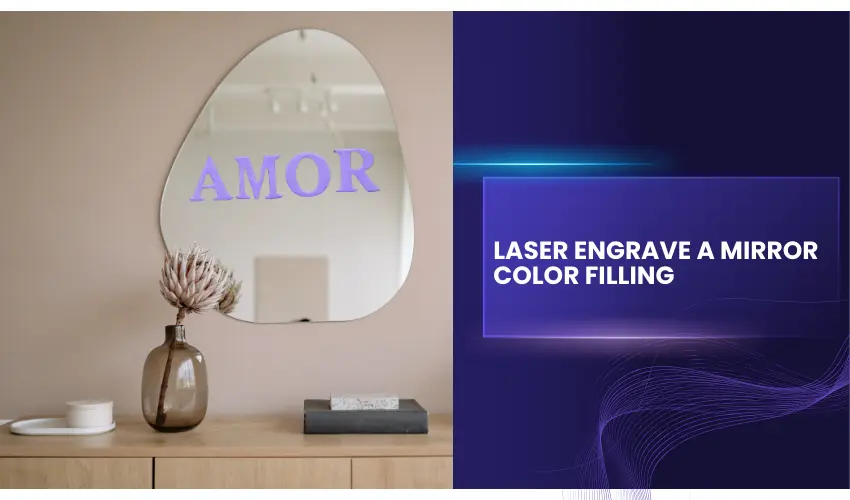
Adding color to your laser-engraved mirror design can enhance visibility and make your artwork stand out. Whether you want a bold, eye-catching look or a subtle, elegant effect, color filling is a great way to customize your engraved mirror. Here’s how to do it.
Choose the Right Paint or Fill Material
The type of color fill you choose depends on the effect you want:
- Acrylic Paint: Affordable and comes in many colors. Ideal for solid, vibrant finishes.
- Spray Paint: Provides smooth, even coverage. Best for quick application.
- Oil-Based Paint Markers: Great for adding fine details and precise coloring.
- Metallic or Mirror Paint: Can add a reflective finish to match or contrast the mirror.
- Epoxy Resin with Dye: Creates a durable, high-gloss finish that enhances depth.
We recommend using TFIVE Paint Markers for hassle-free color filling.
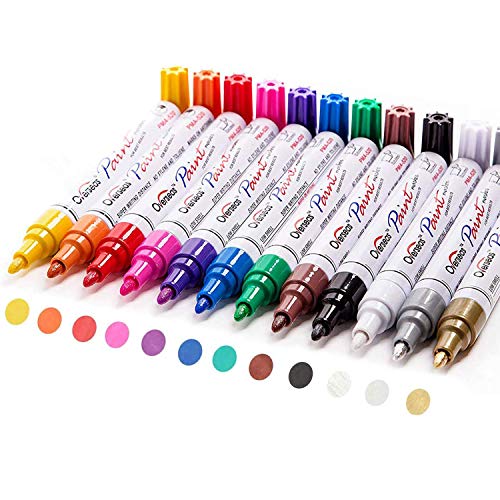
- Premium Paint Pen: These markers are made of opaque ink that is chemically stable, lightfast, quick-dry. Oil-based ink is odorless, non-toxic, xylene-free, acid-free, and environmental. Designed for adults, artists, and professional designers alike
Clean and Prepare the Engraved Mirror
Before applying any color, make sure the engraved area is free from dust and debris:
- Use isopropyl alcohol and a soft cloth to clean the engraved section.
- Ensure the surface is completely dry before proceeding.
Apply the Color Fill
There are different methods to apply color, depending on the type of paint or filler you’re using:
Acrylic Paint Method
- Use a small brush or sponge to apply acrylic paint directly into the engraved areas.
- Allow it to settle into the grooves for a few minutes.
- Wipe off excess paint from the non-engraved areas using a damp cloth or paper towel.
Spray Paint Method (Best for Backside Engraving)
- Tape off any areas you don’t want to be painted.
- Spray an even coat of paint over the engraved area.
- Let it dry completely before handling.
Paint Marker Method
- Use an oil-based paint marker to carefully trace the engraved design.
- Allow it to dry for a few minutes, then wipe off excess with a cloth.
Epoxy Resin Method (For a Long-Lasting Finish)
- Mix resin with a small amount of pigment or dye.
- Pour it into the engraved design and spread it evenly.
- Let it cure for 24 hours for a glossy, professional look.
Seal and Protect Your Design
Once the color has dried, you can apply a clear coat spray or lacquer to protect the painted area from scratches and fading.
Reassemble and Display
If you engraved the backside of the mirror, place the mirror back in its frame or add a backing for a finished look.
By following these steps, you can create stunning, colorful engraved mirrors that add a personal and artistic touch to any space!
Final Thoughts
Laser engraving a mirror is not only possible but can also yield stunning and unique results. By following best practices and using the right laser settings, you can create beautiful custom designs for home decor, gifts, or business branding.
Whether you’re a hobbyist or a professional engraver, understanding how to properly engrave a mirror ensures safe and high-quality outcomes.
Frequently Asked Questions
Can you laser engrave the front of a mirror?
No, mirrors are typically engraved from the back side, not the front. The laser removes part of the reflective coating behind the glass, which reveals the clear or frosted glass underneath. When viewed from the front, the design appears light or frosted against the reflective background.
What type of laser engraver works best for mirrors?
The most common lasers used for mirror engraving are CO₂ lasers and diode laser engravers. These machines can easily remove the reflective backing without damaging the glass. UV lasers can also engrave mirrors with very high precision but are usually used in professional or industrial settings.
Do you need to reverse the design before engraving a mirror?
Yes, in most cases you should mirror (reverse) your design before engraving. Since the laser engraves the back of the mirror, reversing the design ensures that text and images appear correctly when viewed from the front.
Can laser engraving crack a mirror?
Yes, it can happen if the laser settings are too aggressive. Using too much power or engraving too slowly may cause heat buildup that can crack the glass. Always start with lower power settings and run test engravings first.
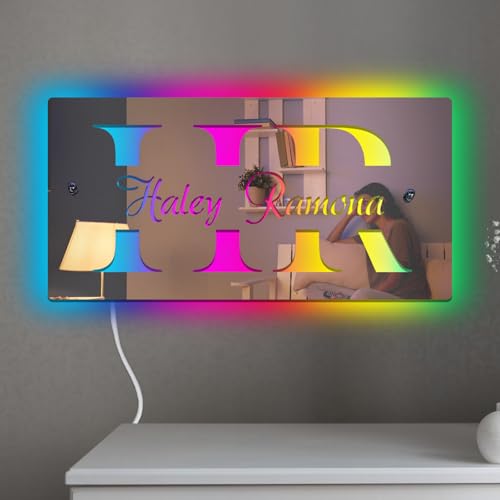
What are common uses for laser engraved mirrors?
Laser engraved mirrors are often used for:
Personalized home décor
Wedding gifts
Custom LED mirror signs
Business logos
Decorative wall art
Because the engraving is protected behind the glass, mirror engravings are durable and long-lasting.