Laser cutting leather gives you sharp, precise edges—but it often leaves behind dark soot and residue that can make your project look unfinished.
The good news is that cleaning laser cut leather is simple once you use the right methods.
Table of Contents
This guide covers everything you need to know, from quick fixes to deeper cleaning and prevention.
Why Does Laser Cut Leather Get Dirty?
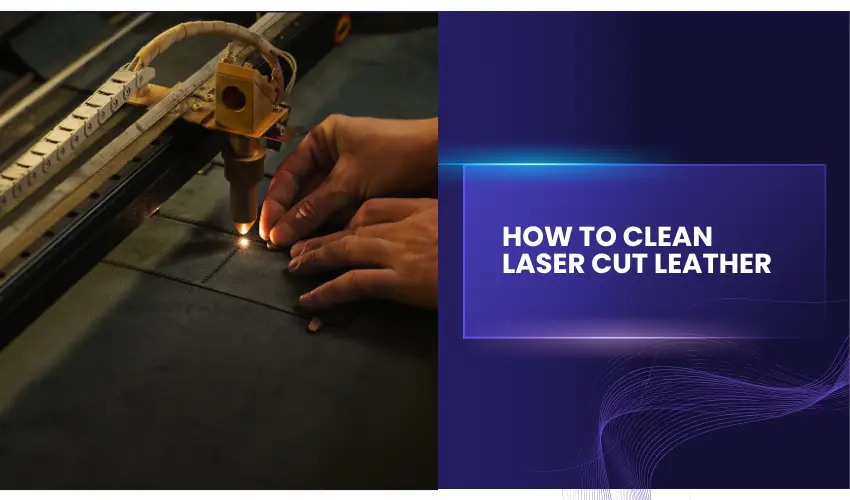
When a laser cuts leather, it burns through the material. This creates carbon residue (soot) that settles on the edges and sometimes the surface.
Factors that affect soot buildup:
- High power settings
- Slow cutting speeds
- Type of leather (some produce more residue)
- Lack of air assist
What You’ll Need To Clean Laser Cut Leather
You don’t need expensive tools. Most cleaning supplies are simple:
- Isopropyl alcohol (70% or higher)
- Cotton swabs or soft cloths
- Saddle soap or leather cleaner
- Soft brush (like a toothbrush)
- Clean towel
- Leather conditioner
Clean Laser Cut Leather Method 1: Alcohol Wipe (Best for Light Soot)
This is the easiest and most common method.
Steps:
- Test on a hidden area first
- Lightly dampen a cloth or cotton swab with alcohol
- Gently wipe along the cut edges
- Replace swabs as they get dirty
We recommend using Cleanaroo Isopropyl Alcohol 99.9%.

- All-Purpose Cleaning Agent and Solvent, High Purity & Quality
Best for:
- Light soot
- Smooth, finished leather
Clean Laser Cut Leather Method 2: Leather Cleaner or Saddle Soap (For Heavier Residue)
When soot is more stubborn, step up to a dedicated cleaner.
Steps:
- Apply a small amount to a soft cloth
- Rub gently in circular motions
- Let it sit briefly
- Wipe clean with a damp cloth
- Dry thoroughly
Important: Always condition the leather afterward.
We recommend using Fiebing’s Liquid Glycerine Saddle Soap for Leather.

- CONVENIENT SPRAY: Maintain your leather goods with ease! Simply spray on Fiebing's Liquid Glycerine Saddle Soap and wipe off to witness the transformative results.
Fiebing’s Liquid Glycerine Saddle Soap is a great choice for cleaning laser-cut or engraved leather because it does more than just remove soot—it also protects and restores the material.
First, it’s easy to use. The spray format lets you apply it quickly and evenly, which is helpful when you’re cleaning detailed laser edges without over-wetting the leather.
Second, it works as both a cleaner and conditioner. Laser cutting can dry out leather and leave behind carbon residue. This saddle soap lifts soot while replenishing moisture, so the leather doesn’t end up stiff or dull.
It’s also gentle but effective. Unlike harsh household cleaners, glycerine-based formulas clean without damaging the leather surface or stripping color, which is especially important for engraved designs.
Another advantage is its versatility. Whether you’re working on wallets, belts, custom patches, or engraved accessories, it handles a wide range of smooth leather items with consistent results.
Finally, it leaves a subtle satin finish. After cleaning, your leather looks refreshed with a soft sheen, helping your laser work appear more polished and professional.
In short, it’s a reliable all-in-one solution: clean, condition, and finish in a single step.
Clean Laser Cut Leather Method 3: Soft Brushing (For Textured Leather)
Some leather types trap soot in their texture.
Steps:
- Use a soft-bristled brush (an old toothbrush will work)
- Gently loosen the residue
- Follow up with alcohol or cleaner if needed
Post-Cleaning Care (Don’t Skip This)
Cleaning removes natural oils from leather.
After cleaning:
- Let the leather dry completely
- Apply a leather conditioner
- Allow it to absorb fully
This keeps the leather soft and prevents cracking. We recommend using Leather Honey Leather Conditioner.

- POWERFUL LEATHER CONDITIONER: Leather Honey penetrates deep to protect new leather and rejuvenate dry leather and old leather. Unlike other products that require monthly treatments, one application of Leather Honey lasts at least six months.
Leather Honey Leather Conditioner is an excellent conditioner for laser-cut or engraved leather because it focuses on what your material actually needs after processing: moisture, protection, and long-term durability.
First, it restores moisture lost during laser cutting. The heat from the laser can dry out leather and make edges feel stiff. Leather Honey penetrates deep into the fibers, bringing back flexibility without just sitting on the surface.
It also offers long-lasting protection. One application can last months, which is useful if you’re selling products or making items that need to hold up over time. You don’t have to keep reapplying after every clean.
Another big plus is the non-sticky, odorless finish. After engraving, you don’t want a greasy or shiny residue that affects the look or feel of your piece. This conditioner absorbs well and leaves a natural finish.
It’s also safe and gentle on leather. Since it’s pH-balanced and free from harsh chemicals, it won’t damage dyed or engraved areas. That matters when you’ve put time into detailed designs.
The water-repellent protection is a bonus. It helps shield your finished pieces from moisture, which can otherwise highlight imperfections or cause staining around engraved areas.
Finally, it works across many leather types and colors, so you can use the same product for belts, wallets, patches, or larger projects without worrying about compatibility.
In short, it helps your laser-cut leather look better, feel softer, and last longer, all with minimal effort.
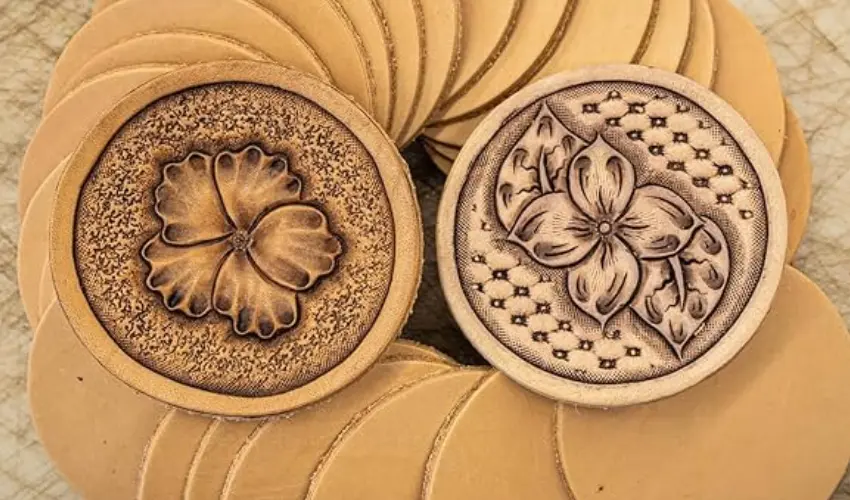
Cleaning Different Types of Laser Cut Leather
Smooth Leather
- Easiest to clean
- Works well with alcohol or cleaners
Vegetable-Tanned Leather
- Produces less soot
- Cleans up easily
Suede or Nubuck
- Avoid liquids when possible
- Use a suede brush instead
Patent Leather
- Smooth surface wipes clean easily
- Avoid abrasive tools
Here’s a simple table you can use as a quick reference when cleaning different types of laser-cut leather:
Leather Type | Best Cleaning Method | What to Avoid |
|---|---|---|
Smooth / Finished | Isopropyl alcohol wipe or leather cleaner + soft cloth | Harsh chemicals, excessive scrubbing |
Vegetable-Tanned | Mild alcohol wipe, saddle soap, then condition | Over-wetting, strong cleaners |
Chrome-Tanned | Leather cleaner or light degreaser, gentle wipe | Alcohol overuse, abrasive tools |
Suede / Nubuck | Dry suede brush or suede-specific cleaner | Water, alcohol, liquid cleaners |
Patent Leather | Soft cloth with light alcohol wipe | Abrasives, heavy pressure |
Oil-Tanned Leather | Mild cleaner + conditioner after cleaning | Over-cleaning, drying agents |
Dyed / Colored Leather | Test first, then gentle alcohol wipe or leather cleaner | Skipping test spot, strong solvents |
Common Mistakes to Avoid When Cleaning Laser Cut Leather
Using household cleaners
They can damage or discolor leather
Over-wetting the material
Too much liquid can cause stiffness or warping
Skipping a test spot
Always test first to avoid surprises
Scrubbing too hard
Can remove dye or damage the surface
How To Prevent Soot on Laser Cut Leather
Soot on laser-cut leather is common, but you can reduce it a lot with the right setup and habits. Here are the most effective ways to prevent it:
1. Use Air Assist
This is the biggest game changer. A steady stream of air blows smoke and debris away from the cut as it happens, so it doesn’t settle back onto the leather.
2. Dial in Your Settings
Avoid slow, low-power cuts. They tend to burn more.
- Use higher speed + enough power to cut cleanly in one pass
- Test on scrap first to find the sweet spot
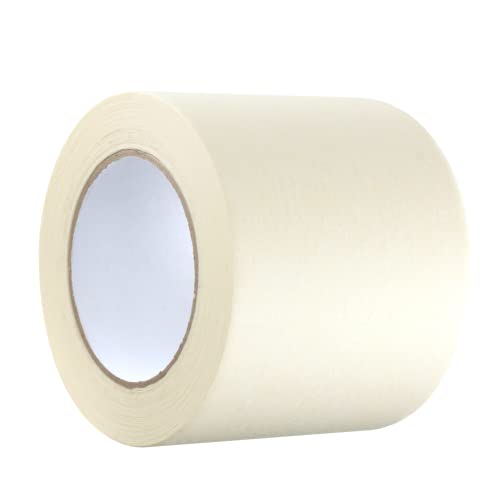
3. Apply Masking Tape
Cover the leather surface with low-tack masking tape before cutting.
It catches soot and residue so your leather stays clean. Peel it off right after cutting.
We recommend using this low-residue GTSE Wide Masking Tape, which yields great results on leather.
- PACKAGE CONTAINS: 1 roll of general purpose masking tape by GTSE
GTSE Wide Masking Tape is a great choice for masking leather during laser cutting and engraving because it solves a few common problems at once.
First, the extra-wide 4-inch coverage makes setup faster. You can cover large sections of leather with fewer strips, which means fewer seams where soot can sneak through.
Second, it has a balanced adhesive. It sticks well enough to stay in place during cutting, but it peels off cleanly without pulling dye or leaving residue. That’s important with leather, where surface damage is easy to notice.
It’s also great for soot protection. The tape acts as a barrier, catching smoke and burn residue so your leather surface stays clean. When you peel it off, most of the mess comes with it.
Another plus is flexibility on curved or soft surfaces. Leather isn’t always perfectly flat, and this tape conforms well without lifting at the edges.
Finally, it’s cost-effective and versatile. With a long roll, you can use it across multiple projects, whether you’re engraving logos, cutting patterns, or doing batch work.
In short, it helps you get cleaner results with less cleanup, which saves time and improves the final look of your leather projects.
4. Choose the Right Leather
Some leathers produce more soot than others:
- Better options: vegetable-tanned, full-grain
- Avoid: heavily treated or synthetic-coated leather
5. Keep Optics Clean
Dirty lenses or mirrors scatter the laser beam, causing extra burning and more soot buildup. Clean them regularly.
6. Improve Ventilation
Good exhaust pulls smoke away quickly. If fumes linger, they settle back onto the surface and create dark edges.
7. Using a Honeycomb Bed
Using a honeycomb bed helps reduce back-burn marks from reflected heat.
8. Make sure your Leather is secure
Loose leather can lift or shift during cutting, leading to scorching and inaccurate cuts.
- Use masking tape to secure the edges
- Weigh down the corners
- Use an acrylic frame to hold it firmly in place
Troubleshooting Tips For Cleaning Laser Cut Leather
Here are practical troubleshooting tips to help when cleaning laser-cut leather doesn’t go as planned:
Soot keeps smearing instead of coming off
You’re likely using a dirty cloth or too much liquid.
Fix: Switch to a clean cloth or fresh cotton swab often and use less moisture. Work in one direction, not back and forth.
Dark edges won’t fully clean
This usually means the leather is slightly burned, not just dirty.
Fix: Try a leather degreaser or very light brushing, but accept that some discoloration may be permanent. Adjust laser settings next time.
Leather looks faded or discolored after cleaning
Some cleaners can lift dye or react with the finish.
Fix: Apply a leather conditioner to even out the color. Always test in a hidden spot before cleaning the whole piece.
Leather feels stiff after cleaning
Cleaning removes natural oils along with soot.
Fix: Let it dry fully, then apply a good leather conditioner. You may need 1–2 light applications to restore softness.
Water spots or streaks appear
Too much liquid or uneven drying can cause this.
Fix: Lightly dampen the entire area evenly and let it air dry naturally to blend the marks.
Suede or nubuck got damaged
These materials don’t handle liquid cleaning well.
Fix: Use a suede brush or suede-specific cleaner only. Avoid alcohol or water-based products.
Residue keeps coming back after cleaning
Soot may be embedded deeper in the grain.
Fix: Clean in multiple light passes instead of one heavy pass. Let it dry between attempts.
Edges still look rough after cleaning
Cleaning won’t fix edge quality caused by cutting settings.
Fix: Lightly burnish or edge-finish if needed, and improve laser speed/power settings for future cuts.
Final Thoughts
Cleaning laser cut leather is straightforward if you take a gentle, step-by-step approach. Start with simple methods like alcohol wipes, move to stronger cleaners only when needed, and always finish with conditioning.
With the right technique, your leather projects will look clean, polished, and professional every time.
Frequently Asked Questions
What’s the easiest way to clean soot off laser-cut leather?
The simplest method is using isopropyl alcohol (70% or higher) on a soft cloth or cotton swab. Gently wipe the edges to lift soot without damaging the surface.
Can I use household cleaners on laser-cut leather?
No, it’s not a good idea. Products like bleach, all-purpose cleaners, or ammonia can damage the leather, cause discoloration, or dry it out. Stick to alcohol or leather-specific cleaners.
Do I need to condition laser cut leather after cleaning?
Yes. Cleaning removes natural oils along with soot. Applying a leather conditioner afterward helps restore softness, prevent cracking, and keep the material looking good.
How do I clean delicate leather like suede or nubuck?
Avoid liquids. Use a dry suede brush or a suede cleaner. Liquids like alcohol can stain or ruin the texture.
Why does soot sometimes not come off laser cut leather completely?
If the laser settings were too hot or slow, the leather may be slightly charred, not just dirty. In that case, cleaning helps, but some darkening may be permanent.