One of the advantages of owning a laser engraver is the wide array of materials that can be engraved. Traditionally, laser engravers were too expensive for the man in the street, but the introduction of inexpensive ones has now made it possible for anyone to set up a laser engraving business.
All you have to do is buy a good laser engraver, choose the best material, and you’re good to go!
But which are the best materials for laser engraving? A laser engraver can be used to engrave several materials, including wood, glass, acrylic, metals, paper and cardboard, fabric, leather, and stone.
Table of Contents
Choosing the right materials can significantly impact the quality and durability of the engraving. This guide covers the best materials for laser engraving and provides recommendations to help you get the best results.
What Makes a Material Good for Laser Engraving?
Not all materials react the same way to laser energy. The best laser engraving materials typically:

- Absorb laser energy efficiently
- Produce high contrast engravings
- Emit minimal harmful fumes
- Engrave cleanly without melting or excessive charring
- Are safe for your laser type (diode, CO₂, fiber, or UV)
Understanding material behavior ensures better results and longer machine life.
The Best Materials For Laser Engraving
1. Wood – The Most Popular Material For Laser Engraving
Wood is widely considered one of the best materials for laser engraving due to its natural contrast and forgiving surface.
Best Woods for Laser Engraving:
- Basswood
- Birch plywood (laser grade)
- Maple
- Alder
- Cherry
Pros:
- High engraving contrast
- Easy to cut and engrave
- Affordable and widely available
Cons:
- Can burn or char if not masked
- Glue layers in plywood may engrave unevenly
Best laser types: Diode & CO₂ lasers
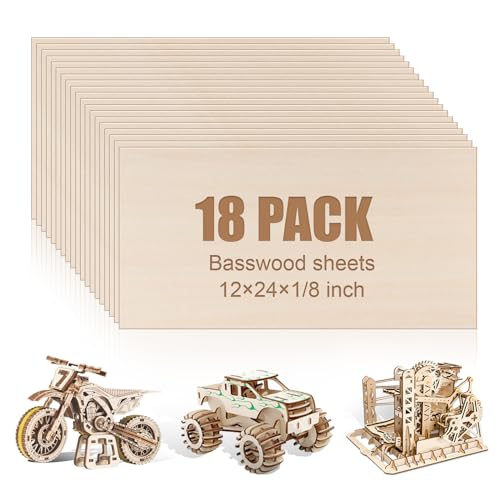
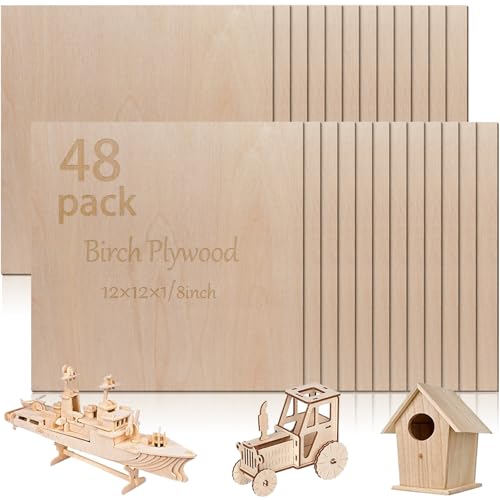
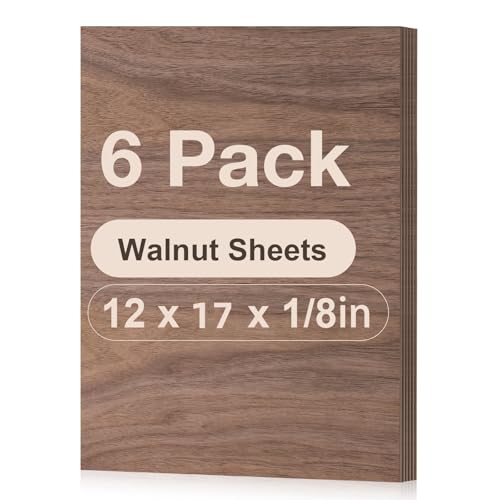
Recommended Wood Materials For Laser Engraving
2. Acrylic – Clean, Modern, and Professional
Acrylic delivers crisp engravings and polished edges, making it ideal for signage, awards, and décor.
Cast vs Extruded Acrylic:
- Cast acrylic: Best for engraving (frosted white look)
- Extruded acrylic: Better for cutting, poorer engraving contrast
Pros:
- Sharp details
- No charring
- Professional appearance
Cons:
- Melts if settings are incorrect
- Limited contrast on clear acrylic
Best laser types: CO₂ lasers
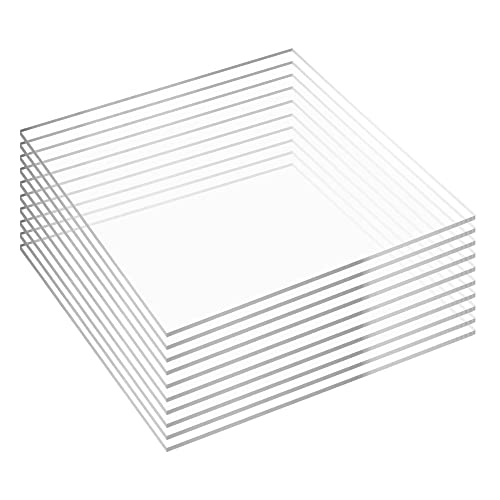
Recommended Acrylic Materials For Laser Engraving

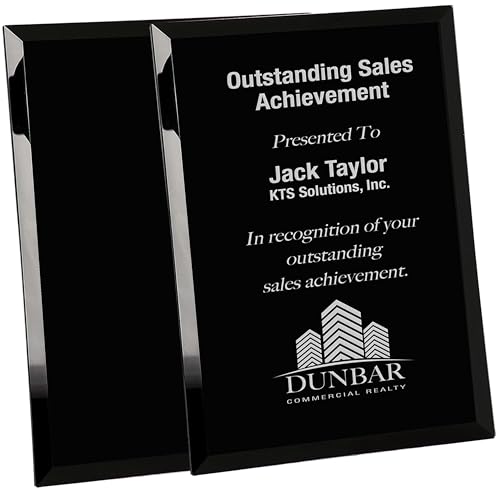
3. Glass – Elegant and High-End Engravings

Glass engraving creates a frosted, etched appearance perfect for gifts and branding.
Common Glass Types:
- Soda-lime glass
- Borosilicate glass
- Crystal
Pros:
- Premium look
- Permanent marking
Cons:
- Risk of cracking
- Requires precise settings
Best laser types: CO₂ and UV lasers
Tip: Diode lasers require marking sprays for glass engraving.
Recommended Glass Materials For Laser Engraving

4. Leather – Stylish and Durable
Natural leather engraves beautifully, producing dark, high-contrast results.
Best Leather for Engraving:
- Vegetable-tanned leather
- Full-grain leather
Pros:
- Rich contrast
- Flexible and durable
- Ideal for wallets, belts, and patches
Cons:
- Chrome-tanned leather emits toxic fumes
- Inconsistent results on dyed leather
Best laser types: Diode & CO₂ lasers
5. Metal – Permanent and Industrial-Grade Results
Metal engraving varies greatly depending on laser type and material.
Engravable Metals:
- Stainless steel
- Aluminum (anodized or bare)
- Brass
- Gold & silver
Methods:
- Fiber & IR lasers: True engraving
- Diode & CO₂ lasers: Surface marking with sprays
Pros:
- Extremely durable
- Ideal for industrial, jewelry, and branding
Cons:
- Higher laser cost for true engraving
Best laser types: Fiber, IR, and UV lasers
Recommended Metal Materials For Laser Engraving


6. Stone & Slate – Rustic and Bold Designs
Natural stone creates high-contrast engravings ideal for décor and memorials.
Best Stone Materials:
- Slate
- Marble
- Granite
Pros:
- Strong visual contrast
- Weather resistant
Cons:
- Cannot be cut
- Engraving depth is limited
Best laser types: CO₂ lasers
Recommended Slate Materials For Laser Engraving


7. Rubber – Ideal for Stamps
Laser engraving rubber is commonly used for stamp making and industrial labels.
Pros:
- Deep engravings
- Excellent ink retention
Cons:
- Strong odor during engraving
- Requires ventilation
Best laser types: CO₂ lasers
Recommended Rubber Materials For Laser Engraving
8. Plastics – Use With Caution
Not all plastics are laser-safe. Some emit toxic fumes.
Safe Plastics:
- Acrylic
- Delrin
- Mylar
- PET
Unsafe Plastics:
- PVC
- Vinyl
- Polycarbonate
Never laser cut or engrave PVC—it releases chlorine gas
Recommended Plastic Materials For Laser Engraving
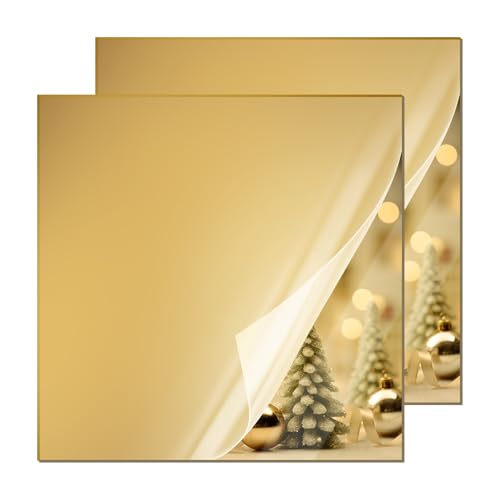
9. Paper and Cardboard – Lightweight, Fast, and Affordable
Paper and cardboard are excellent materials for light engraving, cutting, and decorative applications, especially for packaging, crafts, and prototyping.
Best Paper & Cardboard Types:
- Cardstock
- Kraft paper
- Corrugated cardboard
- Chipboard
- Recycled cardboard
Pros:
- Extremely fast engraving and cutting
- Very low power required
- Ideal for stencils, packaging, invitations, and models
- Inexpensive and widely available
Cons:
- Highly flammable—requires constant supervision
- Easy to burn or overcut
- Limited durability
Best laser types: Diode & CO₂ lasers
Tip: Always use low power, high speed, and never leave the laser unattended when engraving paper-based materials
10. Fabrics – Creative and Functional Textile Engraving
Laser engraving on fabric is widely used for custom apparel, patches, home décor, and industrial textiles. The laser seals edges while cutting, preventing fraying.
Common Laser-Safe Fabrics:
- Cotton
- Denim
- Felt (wool or laser-safe synthetic)
- Polyester
- Canvas
Pros:
- Clean, sealed edges when cutting
- Excellent for detailed designs and patterns
- Fast production for custom textiles
Cons:
- Some synthetic fabrics can melt
- Not all fabrics engrave with strong contrast
- Potential fumes from synthetic materials
Best laser types: CO₂ lasers (best), Diode lasers (limited)
Avoid unknown or PVC-coated fabrics, as they may release toxic fumes
Laser Compatibility Table – Best Materials for Laser Engraving
Material | Diode Laser | CO₂ Laser | Fiber / IR Laser | UV Laser | Notes |
|---|---|---|---|---|---|
Wood (Hard & Soft) | Excellent | Excellent | Not suitable | Limited | UV is overkill for wood |
Plywood / MDF | Good | Excellent | Not suitable | Limited | Adhesives may react differently |
Leather (Vegetable-Tanned) | Good | Excellent | Not suitable | Limited | CO₂ gives best contrast |
Acrylic (Cast) | Limited (dark only) | Excellent | Not suitable | Excellent | UV gives ultra-fine detail |
Glass | With coating | Excellent | Not suitable | Best Option | UV engraves without microcracks |
Stone / Slate | Light marking | Excellent | Not suitable | Good | Produces sharp contrast |
Anodized Aluminum | Light marking | Light marking | Excellent | Excellent | UV excels at marking |
Stainless Steel | (spray only) | (spray required) | Excellent | Excellent | UV offers high precision |
Gold / Silver / Brass | Not suitable | Not suitable | Excellent | Limited | Fiber/IR preferred |
Rubber (Laser-safe) | Limited | Excellent | Not suitable | Limited | Avoid PVC-based rubber |
Paper & Cardboard | Excellent | Excellent | Not suitable | Limited | Fire risk—low power only |
Fabrics (Cotton, Felt, Denim) | Limited | Excellent | Not suitable | Limited | CO₂ seals edges cleanly |
How to Choose the Best Materials For Laser Engraving
When selecting materials, consider:
- Your laser type and wattage
- Desired engraving depth and contrast
- Safety and fume control
- Final product use (decorative vs industrial)
Final Thoughts
Choosing the right material for laser engraving depends on the project requirements and the type of laser engraver you have. Wood, acrylic, glass, leather, metal, stone, and paper each offer unique benefits and engraving effects.
By selecting high-quality materials and adjusting laser settings accordingly, you can achieve professional and lasting results. Whether you’re a beginner or an experienced engraver, experimenting with different materials will help you refine your technique and expand your creative possibilities.
Frequently Asked Questions
What is the best surface for laser engraving?
The best surface for laser engraving depends on your project, but popular choices include wood, acrylic, anodized aluminum, and glass due to their excellent engraving quality and durability.
What should you not laser engrave?
You should avoid laser engraving materials that release toxic fumes or are highly flammable, such as PVC, vinyl, fiberglass, coated carbon fiber, and certain plastics like ABS.
What is the best board for laser engraving?
The best board for laser engraving is high-quality plywood (such as Baltic birch), or solid woods like maple, cherry, and walnut, as they offer smooth surfaces and consistent engraving results.
What is the best material for beginners to laser engrave?
Wood, especially basswood, birch, or maple, is the best starting material. It engraves easily, produces good contrast, and is compatible with diode and CO₂ lasers, making it forgiving for learning settings and technique.
Can all materials be laser engraved safely?
No. Some materials, such as PVC, vinyl, artificial leather with chlorine, and some plastics, release toxic gases when lasered. Always verify that a material is laser-safe before engraving and use proper ventilation.
Why do some materials engrave better with certain laser types?
Different materials absorb laser wavelengths differently.
CO₂ lasers excel on organic materials like wood, leather, fabric, and acrylic
Diode lasers work well on wood and coated materials
Fiber and IR lasers are best for metals
UV lasers provide ultra-precise engraving on glass and plastics
Can I engrave metal with a diode or CO₂ laser?
Direct metal engraving is limited with diode and CO₂ lasers. They can mark metal using laser marking sprays, but for permanent, deep engraving, a fiber or IR laser is required.
What factors affect engraving quality across different materials?
Engraving quality depends on laser power, speed, focus, material density, moisture content, surface finish, and air assist. Testing small samples before full projects ensures consistent and professional results.